
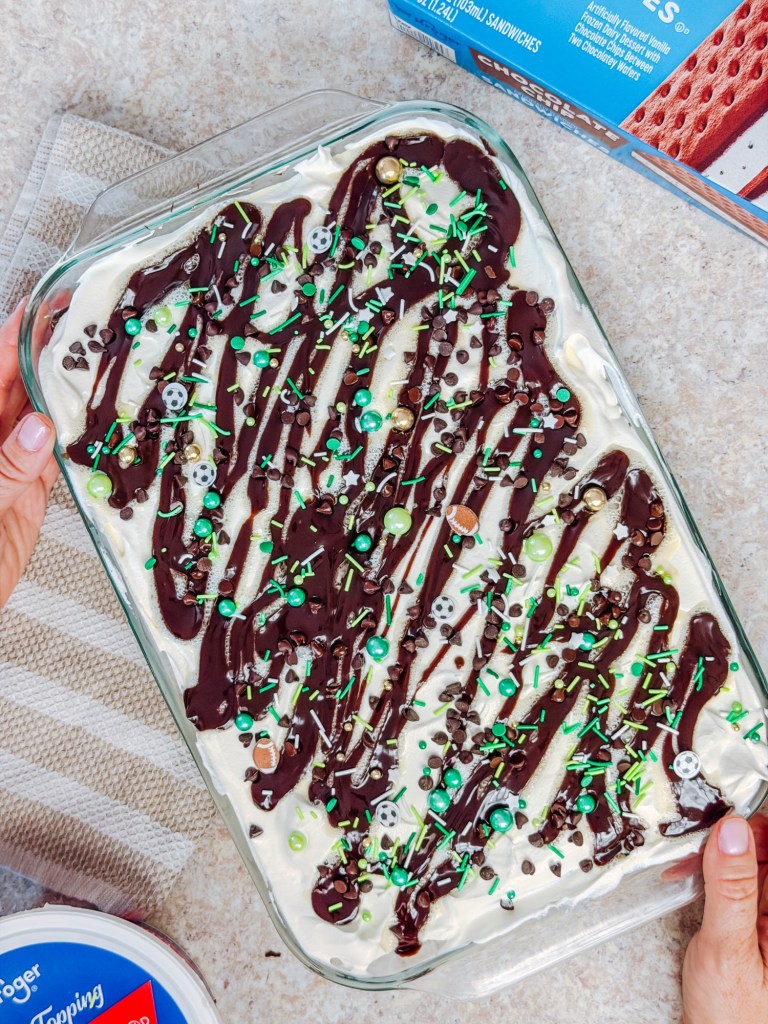
Looking for an easy birthday cake that requires zero baking and very little effort? This chocolate chip ice cream sandwich cake is it!
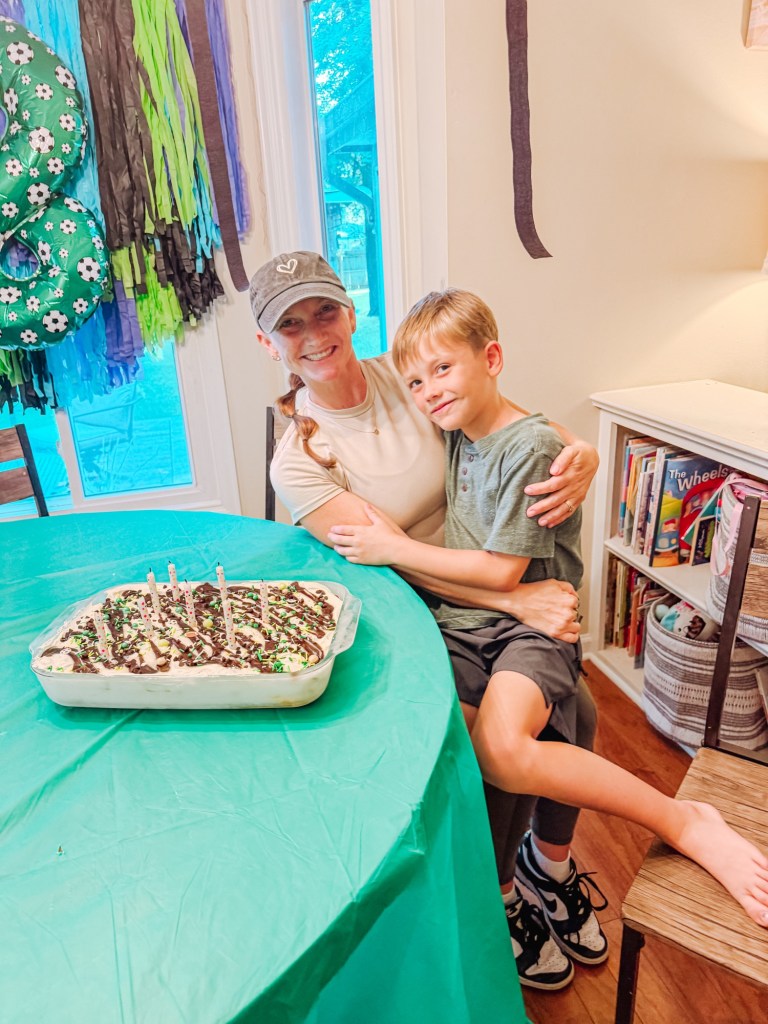
I made this easy ice cream cake for my son’s birthday, and it was a huge hit. Instead of regular ice cream sandwiches, I used chocolate chip ice cream sandwiches and layered them with Cool Whip, hot fudge, caramel sauce and mini chocolate chips.
For the top, I kept things simple with another layer of Cool Whip, a drizzle of hot fudge and festive sprinkles. I used sports-themed sprinkles to match my son’s birthday, but you can easily customize this cake for any celebration!
It’s cold, creamy, chocolatey, caramel-y and completely delicious—and the best part is that you don’t have to turn on the oven!
Why You’ll Love This Ice Cream Cake
This is one of those recipes that makes you look like you put in way more effort than you actually did.
There is:
- No baking
- No cake mix
- No homemade frosting
- No complicated decorating
- Just a few simple ingredients
- And the freezer does most of the work!
It’s also easy to customize for any birthday theme simply by changing the sprinkles.
Ingredients
- 12 chocolate chip ice cream sandwiches
- 1 large tub (16 ounces) Cool Whip, thawed
- Hot fudge sauce
- Caramel sauce
- Mini chocolate chips
- Festive sprinkles
How to Make Chocolate Chip Ice Cream Sandwich Cake
1. Prepare Your Pan
Use a 9×13-inch baking dish. Have your pan ready before you unwrap the ice cream sandwiches since they will begin to soften quickly.
2. Add the First Layer
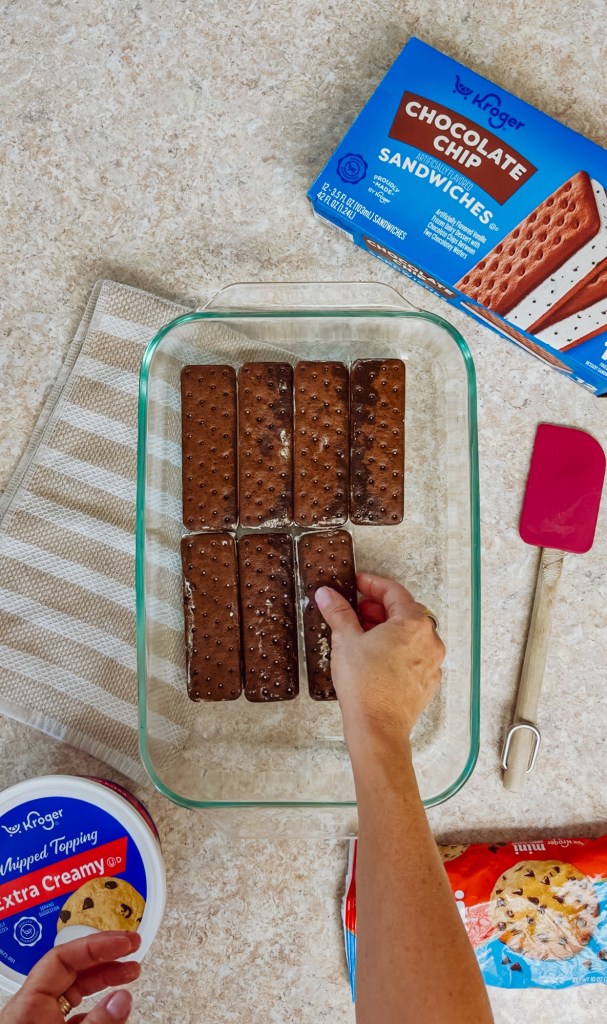
Unwrap the chocolate chip ice cream sandwiches and arrange them in a single layer in the bottom of the pan.
You’ll likely need to cut a few sandwiches to fill in the gaps and create an even layer.
3. Add the First Cool Whip Layer
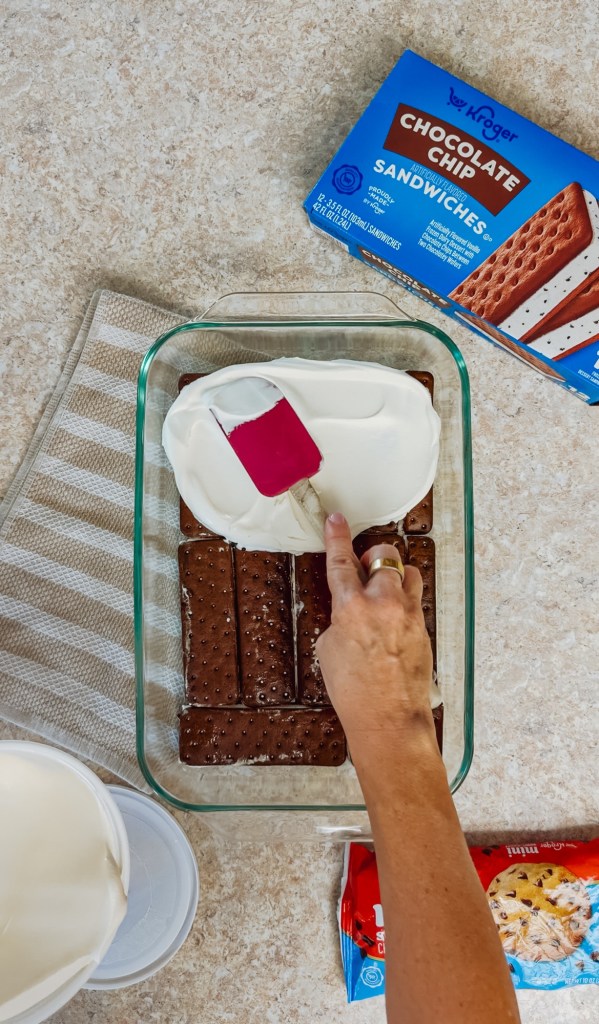
Spread half of the thawed Cool Whip evenly over the ice cream sandwiches.
It doesn’t have to be perfect—the toppings and second layer will cover everything up!
4. Add Hot Fudge and Caramel
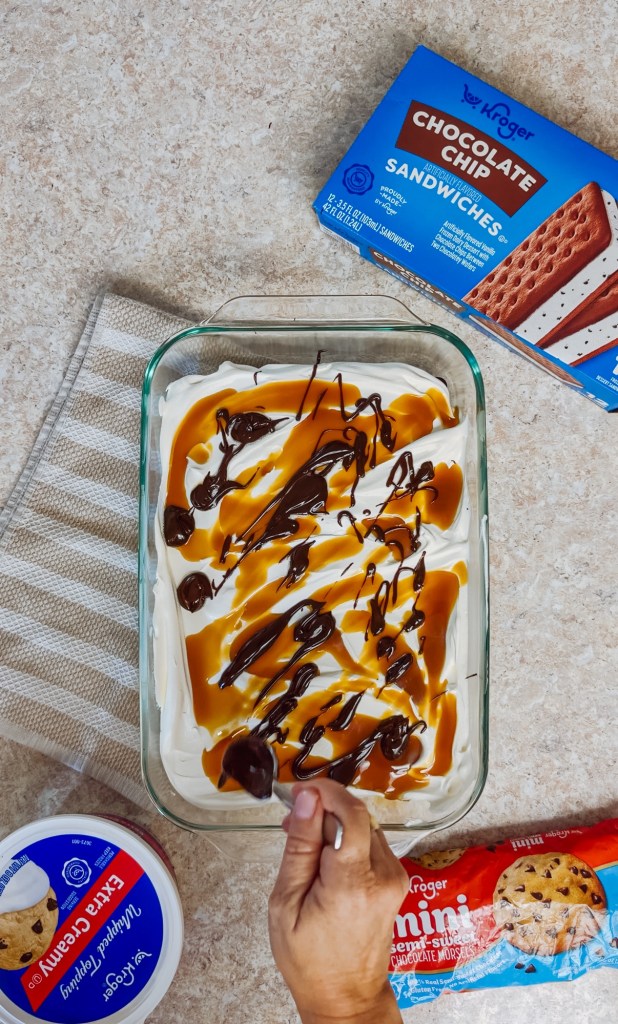
Drizzle hot fudge sauce and caramel sauce over the first layer of Cool Whip.
You can use as much or as little as you’d like. If you’re a chocolate and caramel fan, don’t be shy!
5. Add the Second Layer
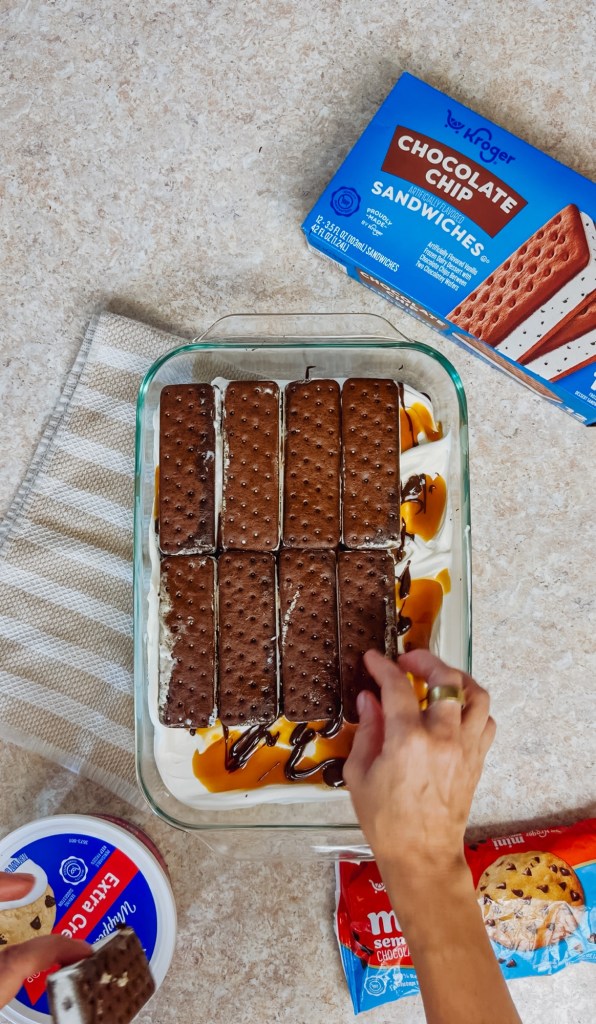
Place another layer of chocolate chip ice cream sandwiches over the first layer.
Cut the sandwiches as needed to fit your pan.
6. Add the Final Cool Whip Layer
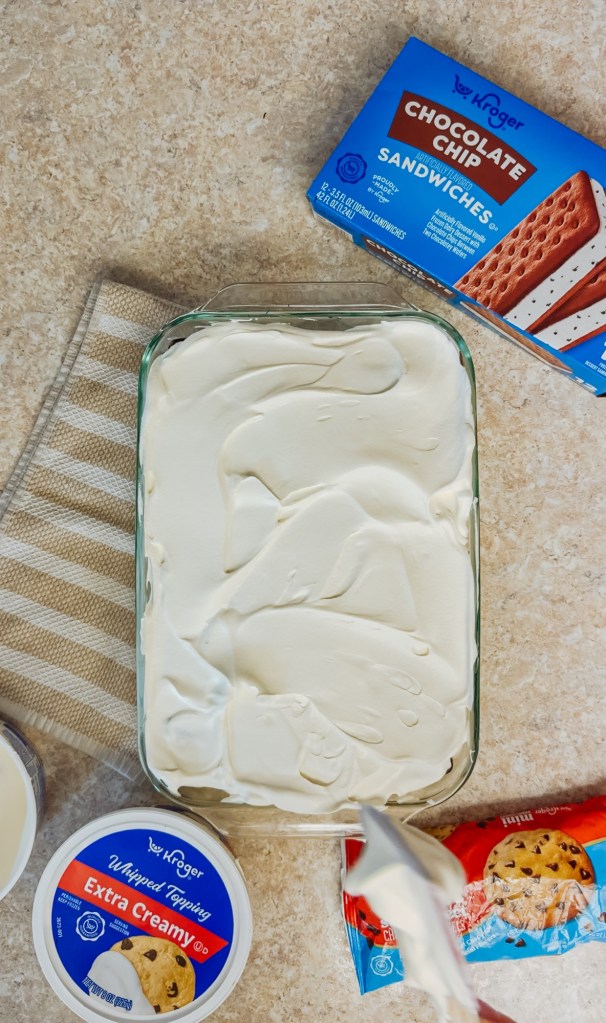
Spread the remaining Cool Whip evenly over the second layer of ice cream sandwiches.
This will create the fluffy white topping for your cake.
7. Add Hot Fudge and Sprinkles
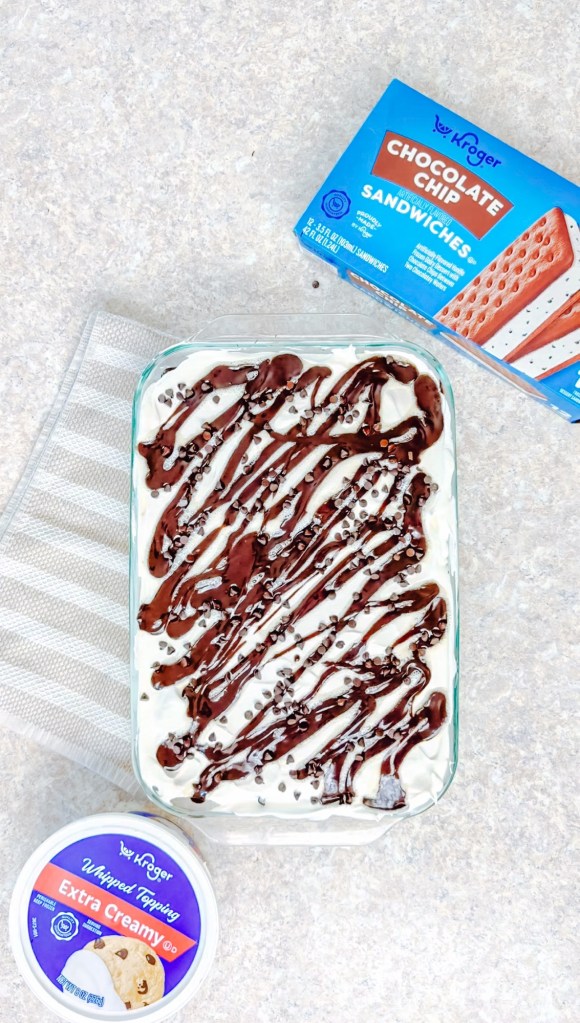
Drizzle hot fudge sauce over the top layer of Cool Whip and then sprinkle with mini chocolate chips.
Then cover the top with festive sprinkles!
For my son’s birthday, I used sports-themed sprinkles, which made the cake feel extra special and perfectly matched his birthday celebration.
9. Freeze
Cover the pan and place it in the freezer until the cake is completely firm, preferably for at least 3–4 hours or overnight.
10. Slice and Serve
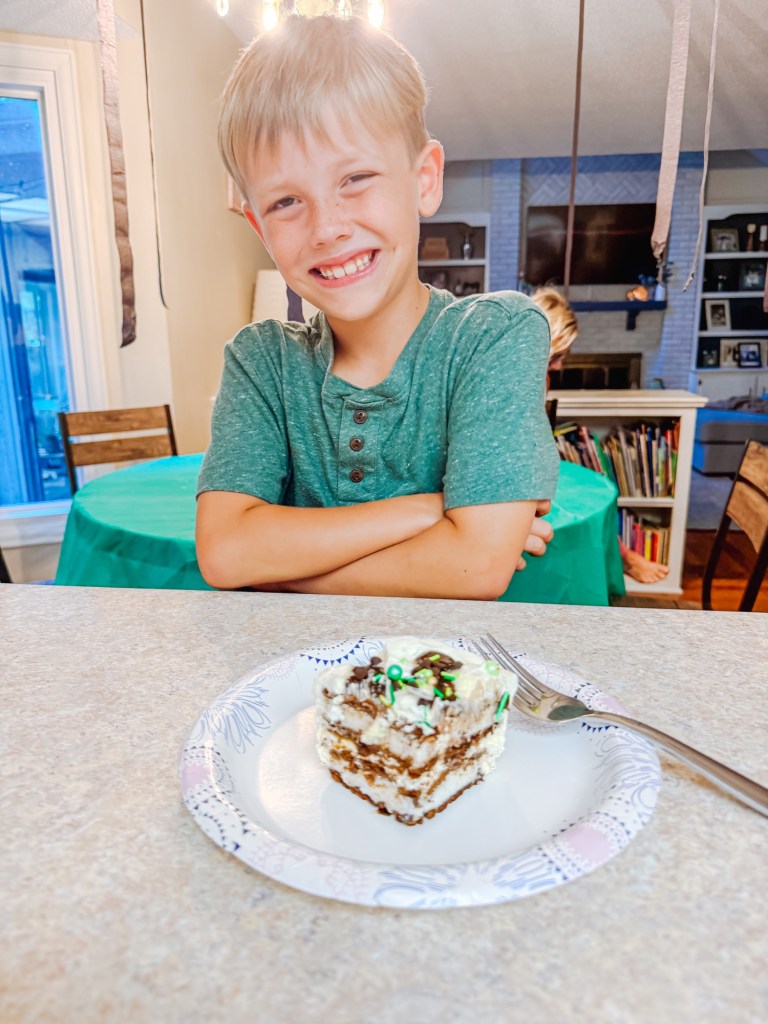
When you’re ready to serve, let the cake sit at room temperature for a few minutes to make slicing easier.
Cut into squares, add candles and enjoy!
Easy Ways to Customize It
One of my favorite things about this cake is how easy it is to customize.
Sports birthday: Use sports-themed sprinkles or the birthday kid’s favorite team colors.
Princess birthday: Try pink, purple or princess-themed sprinkles.
Dinosaur birthday: Use green sprinkles or dinosaur-themed decorations.
Holiday party: Choose seasonal sprinkles for Christmas, Halloween, Valentine’s Day or any holiday.
Rainbow birthday: Add colorful rainbow sprinkles.
You could even coordinate the sprinkles with the birthday kid’s favorite colors.
Tips for Making Ice Cream Sandwich Cake
Work quickly. Ice cream sandwiches melt quickly once they’re out of the freezer, so have everything ready before you start.
Don’t worry about perfect layers. The sandwiches can be cut to fit the pan, and the Cool Whip will cover any imperfections.
Make it ahead. This is a perfect make-ahead birthday dessert. Assemble it the day before and keep it covered in the freezer until you’re ready to serve.
Let it soften slightly before slicing. Allow the cake to sit out for a few minutes before cutting. This makes slicing much easier.
Customize the toppings. The hot fudge, caramel, mini chocolate chips and sprinkles can all be adjusted to your liking.
The Easiest Birthday Dessert
This chocolate chip ice cream sandwich cake is proof that you don’t need to spend hours baking and decorating to make a birthday dessert feel special.
With layers of chocolate chip ice cream sandwiches, creamy Cool Whip, hot fudge, caramel and mini chocolate chips—and plenty of festive sprinkles on top—it’s basically an ice cream sundae turned into a birthday cake!
And because it can be customized for any theme, it’s one recipe you’ll want to keep coming back to.
Sometimes the easiest birthday cakes are the best ones! ❤️
Recipe
Prep Time: 10 minutes
Freeze Time: 3–4 hours
Total Time: About 3 hours 10 minutes
Servings: 16
Ingredients
- 12 chocolate chip ice cream sandwiches
- 16 ounces Cool Whip, thawed
- Hot fudge sauce
- Caramel sauce
- Mini chocolate chips
- Festive sprinkles
Instructions
- Arrange 12 chocolate chip ice cream sandwiches in a single layer in a 9×13-inch pan, cutting sandwiches as needed to fit.
- Spread half of the Cool Whip evenly over the ice cream sandwiches.
- Drizzle hot fudge and caramel sauce over the Cool Whip.
- Sprinkle with mini chocolate chips.
- Add a second layer of chocolate chip ice cream sandwiches.
- Spread the remaining Cool Whip over the top.
- Drizzle with hot fudge sauce.
- Finish with festive sprinkles.
- Cover and freeze for 3–4 hours or until firm.
- Let sit at room temperature for a few minutes, then slice and serve.


Leave a comment