
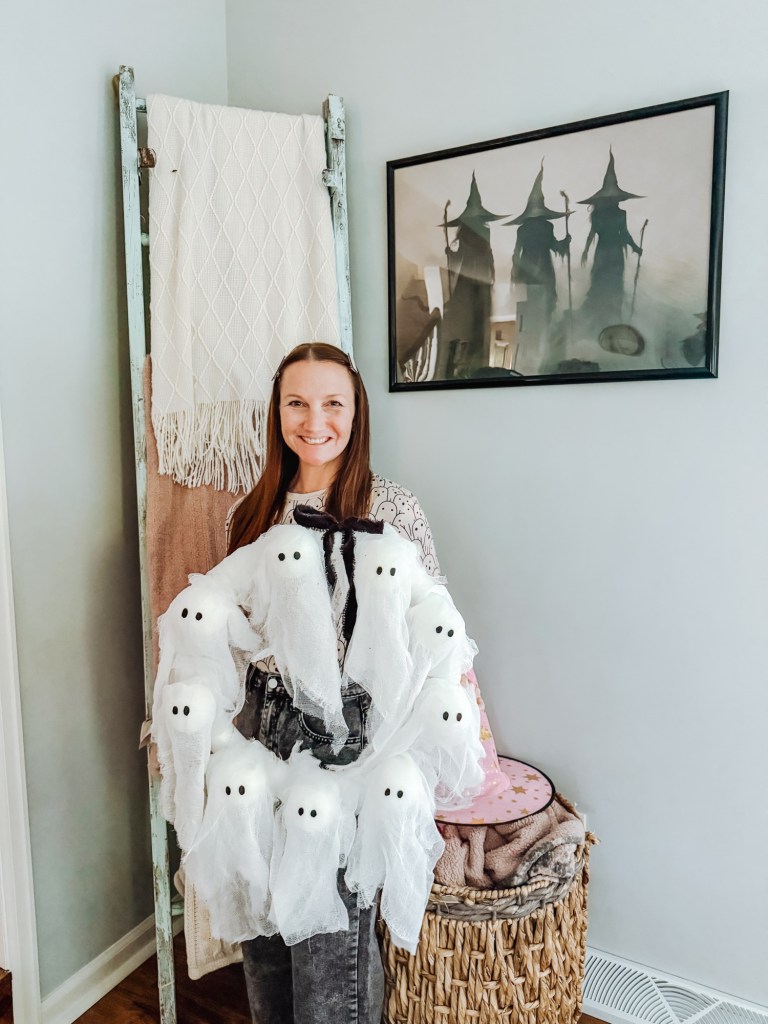
Looking for a fun and easy way to decorate for Halloween? This DIY ghost wreath is the perfect combination of spooky and cute! And it looks just like this $90 Pottery Barn Lit Ghost Wreath (or cuter, if you ask me) but only cost me around $40. Made with simple craft supplies, little cheesecloth ghosts, twinkle lights, and a black velvet bow, this wreath makes a festive addition to your front door or indoor Halloween decor.
The best part? You can customize the number of ghosts, adjust the draping of the cheesecloth, and add your own spooky touches to make it your own.
If you love easy DIY projects that make a big impact, this Halloween ghost wreath is one to add to your fall crafting list!
Supplies You’ll Need
To make your own DIY ghost wreath, gather the following supplies:
- 1 foam wreath form
- 9–12 Styrofoam balls
- Cheesecloth
- Black felt
- Black velvet ribbon
- Twinkle lights
- Zip ties
- Hot glue gun
- Hot glue sticks
- Scissors
Helpful tip: Before you begin, check that your twinkle lights are long enough to wrap around the wreath and that their battery packs can be positioned securely on the back. I ended up using two strands of twinkle lights.
How to Make a DIY Ghost Wreath
Step 1: Attach the ghost heads
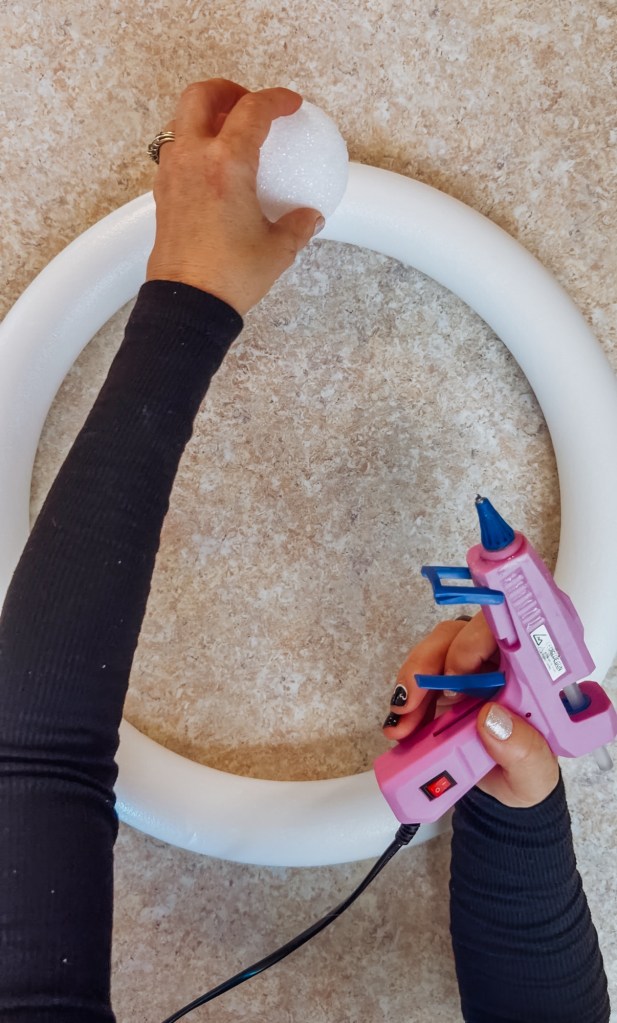
Start by arranging your Styrofoam balls around the foam wreath form. Space them evenly so your ghosts will be distributed around the entire wreath.
Once you’re happy with the placement, use hot glue to attach each ball securely to the wreath form. Allow the glue to set before moving on to the next step.
Step 2: Add the twinkle lights
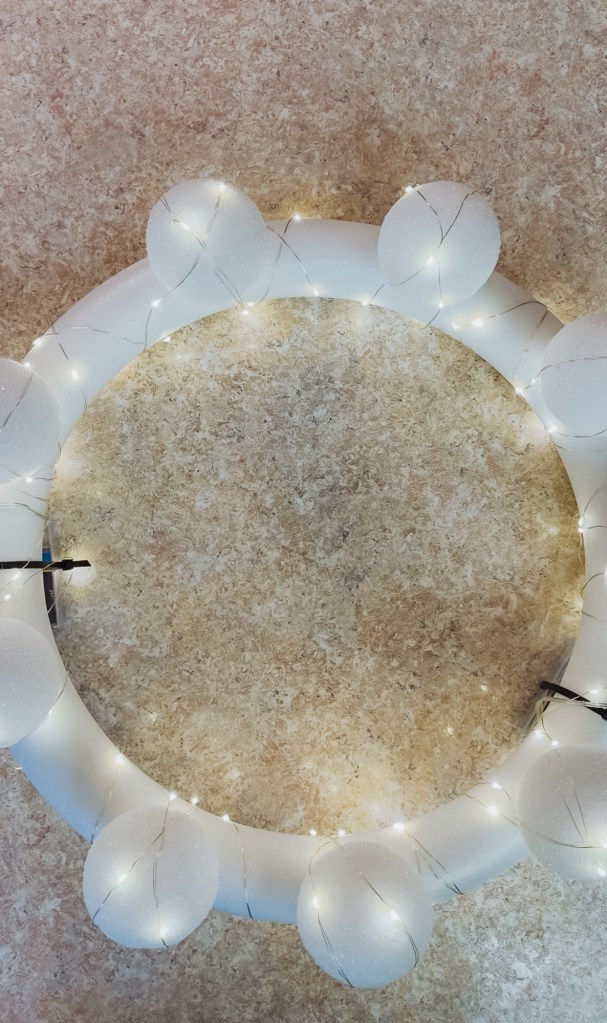
Wrap the twinkle lights around the wreath form and Styrofoam balls, distributing the lights throughout the design.
Secure the battery packs to the back of the wreath form using zip ties. Keep the battery packs accessible so you can easily switch the lights on and off.
Step 3: Create the cheesecloth ghosts
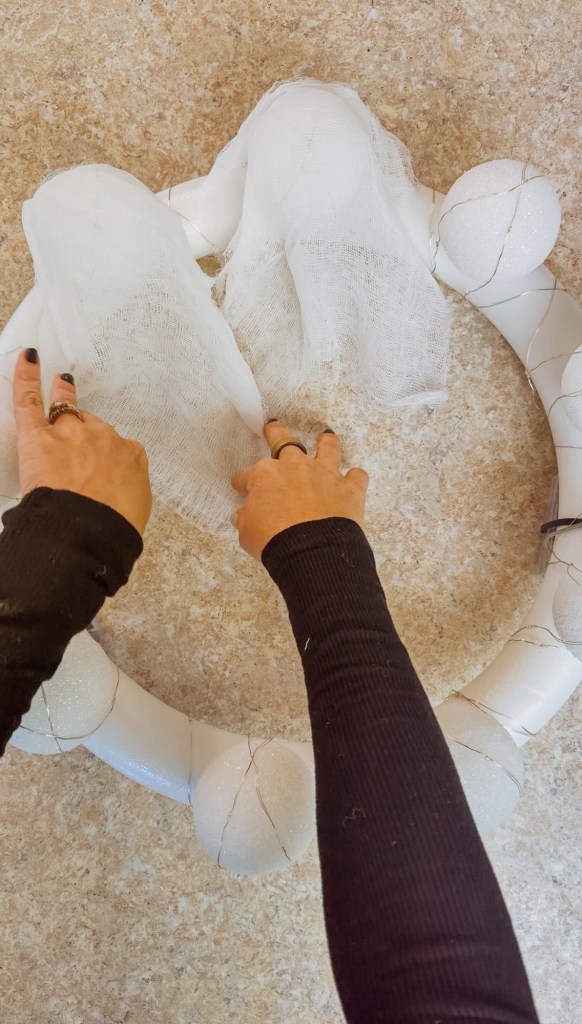
Cut the cheesecloth into rectangles large enough to drape over each Styrofoam ball.
Place a couple of pieces of cheesecloth over each ball, allowing the fabric to hang loosely to create that classic ghost shape. Adjust the fabric until each ghost has its own little personality.
Use small dabs of hot glue to secure the cheesecloth in place. Be careful not to cover the battery controls or any switches you need to access.
Step 4: Give your ghosts their eyes
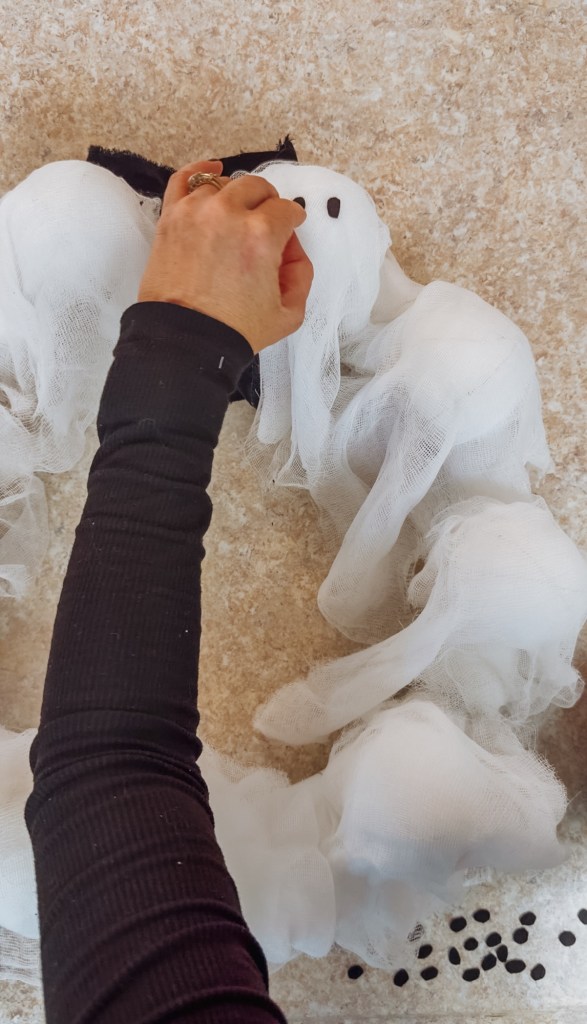
Cut small circles from the black felt to make the ghost eyes.
Glue two eyes onto each ghost, positioning them near the front of the Styrofoam ball. You can make the eyes small and simple or slightly larger for a more playful look.
This is the step that brings your little ghosts to life!
Step 5: Add the black velvet bow
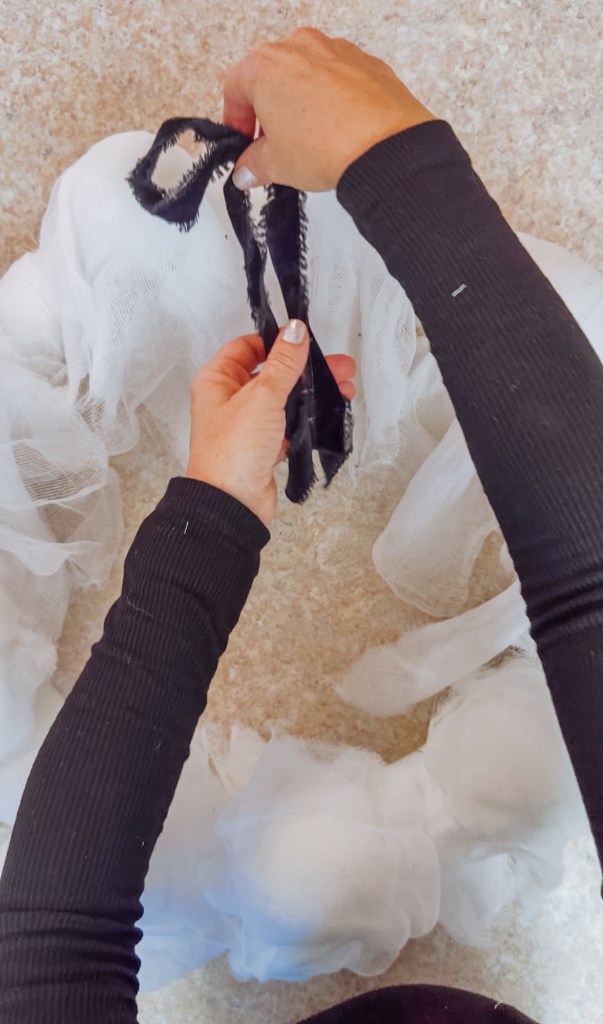
Tie the black velvet ribbon into a large bow.
Use hot glue to attach the bow to the top of the wreath. The black velvet adds a dramatic finishing touch and gives the wreath a fun mix of spooky and elegant.
Step 6: Light it up!
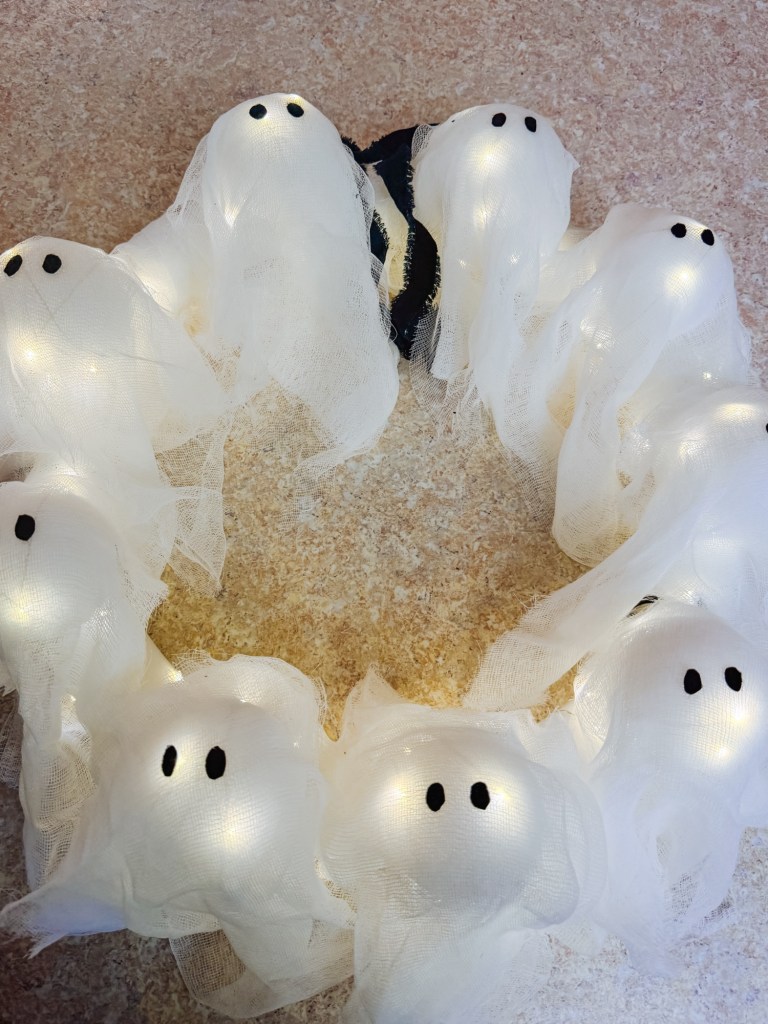
Turn on the twinkle lights and check that everything looks the way you want it to.
Fluff the cheesecloth, adjust any crooked ghost eyes, and make sure the battery packs are secure. Your DIY ghost wreath is now ready to display!
If you plan to hang it outdoors, choose a sheltered location and use lights and materials rated for the conditions. Keep battery packs protected from moisture, and never leave the hot glue gun unattended while crafting.
Tips for the Cutest Ghost Wreath
Vary the cheesecloth. Let some ghosts have longer drapes than others for a more whimsical look.
Space your ghosts evenly. Arrange the balls before gluing so the wreath looks balanced from every angle.
Make the bow oversized. A large black velvet bow creates a striking contrast with the white cheesecloth.
Check your lights before assembling. Test both sets of twinkle lights first so you know they work before wrapping them around the wreath.
Customize your ghost faces. Try different eye sizes or expressions if you want to give each ghost its own personality.
Where to Display Your Ghost Wreath
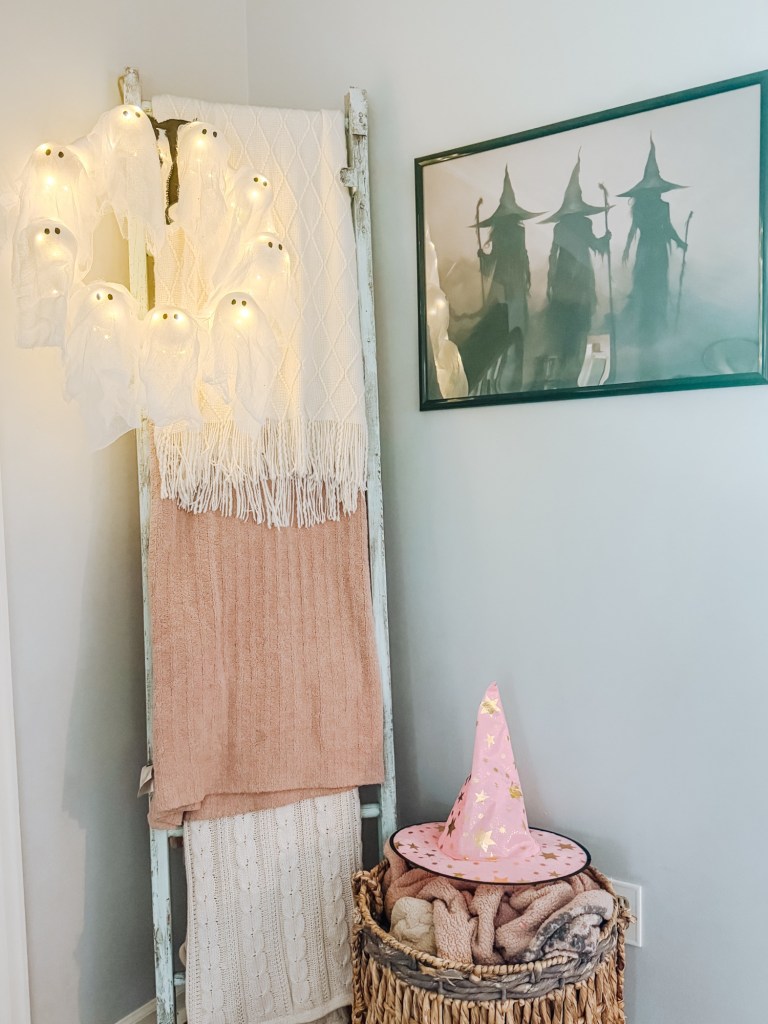
This wreath looks adorable on a front door, hanging on an interior wall, above a console table, or as part of a Halloween entryway display.
For an extra-spooky look, display it in a dimly lit area where the twinkle lights can shine. Pair it with pumpkins, black accents, and other Halloween decorations to complete your display.
If you hang it outside, make sure the wreath and lighting are suitable for the location and protected from rain and moisture.
Final Thoughts
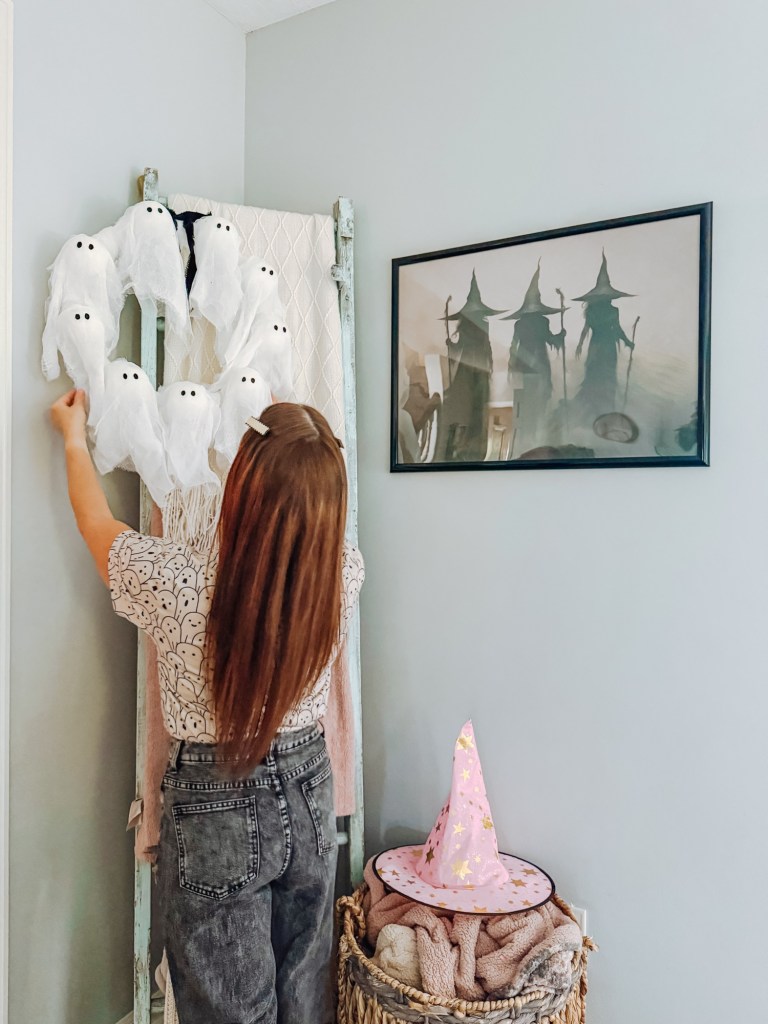
This DIY ghost wreath is proof that a few simple craft supplies can turn into something really fun for Halloween. With cheesecloth ghosts, glowing twinkle lights, and a big black velvet bow, it is an easy way to add a little spooky-cute charm to your home.
Make one for your own Halloween decorations, or get the family involved in creating a few friendly little ghosts!
If you make this wreath, I’d love to see how it turns out. Happy Halloween crafting! 👻


Leave a Reply