

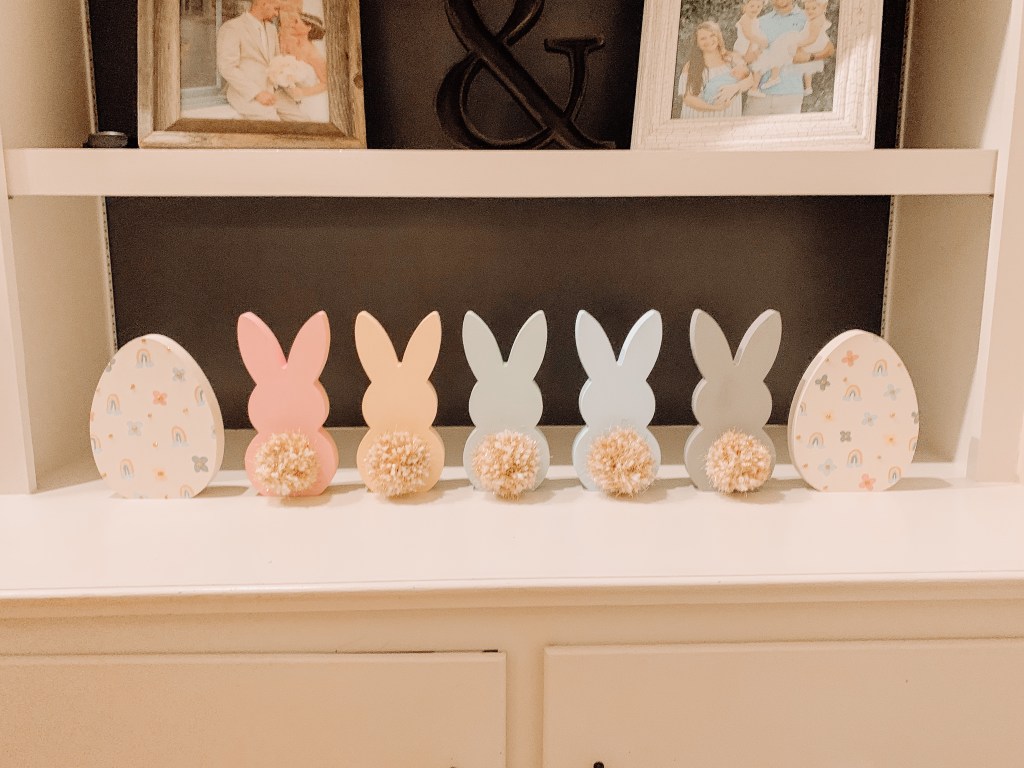
Spring has sprung and the Easter Bunny will be making his rounds soon! And upon taking down my St. Patrick’s Day decorations I realized that my Easter decor was sorely lacking. So when I came across this easy Easter DIY from one of my favorite bloggers (Stephanie Hanna) I knew I had to make my own.
I chose to use a rainbow of spring pastels, but you could easily make these all one color, ombré, or any other combination that fits your style. Below you will find a list of supplies needed and step-by-step instructions for making these adorable Easter bunnies.
Supplies
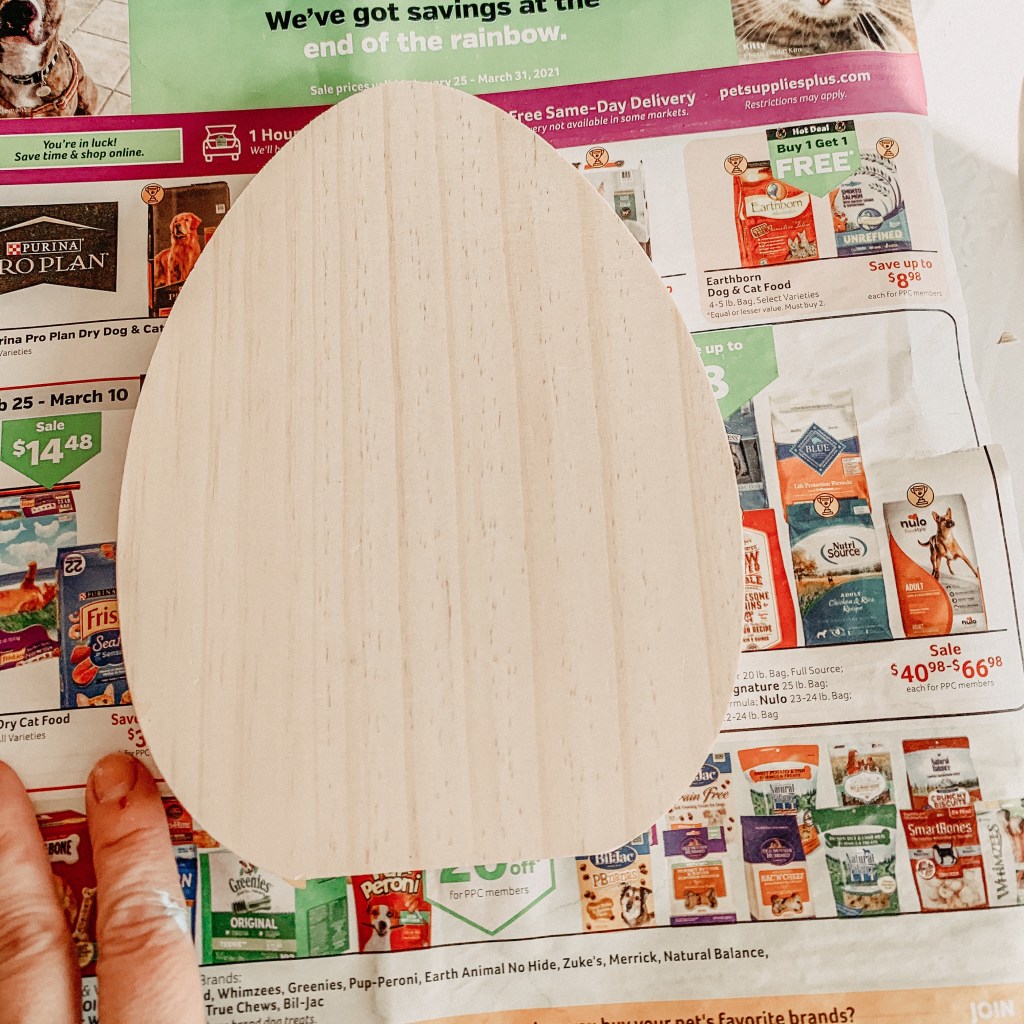
- 5 wooden Target bunnies
- 2 wooden target eggs
- Pastel acrylic paint
- Paint brushes
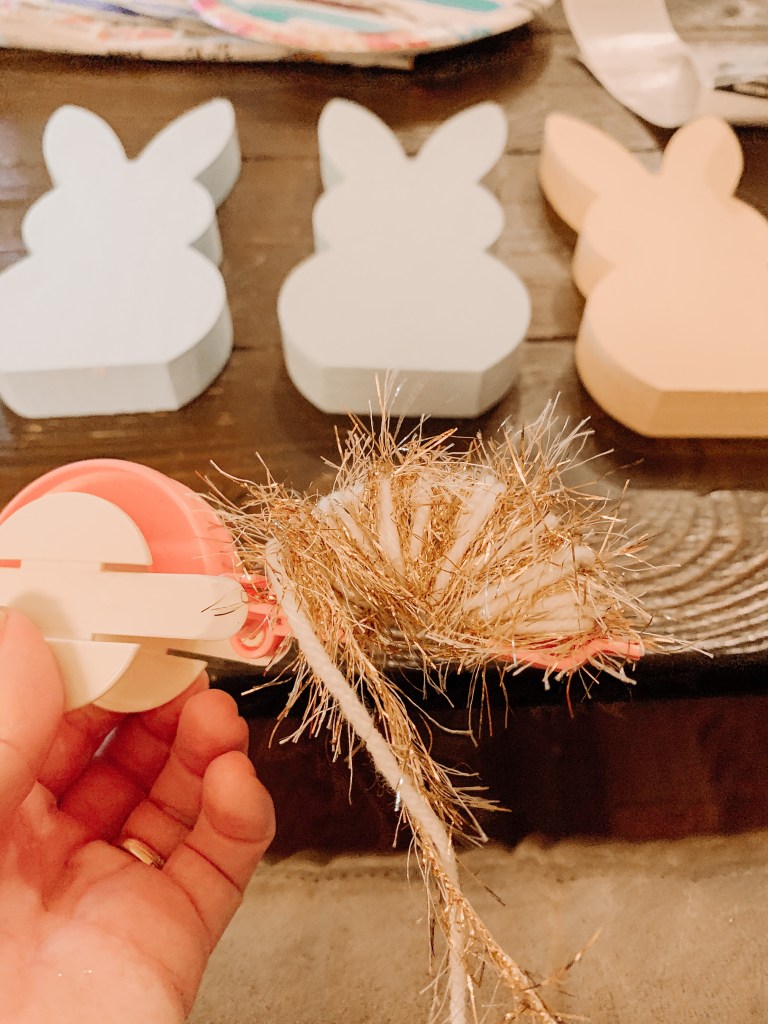
- Yarn
- Pom Pom maker
- Glue gun
- Hot glue
- Glue
- Glitter
Instructions
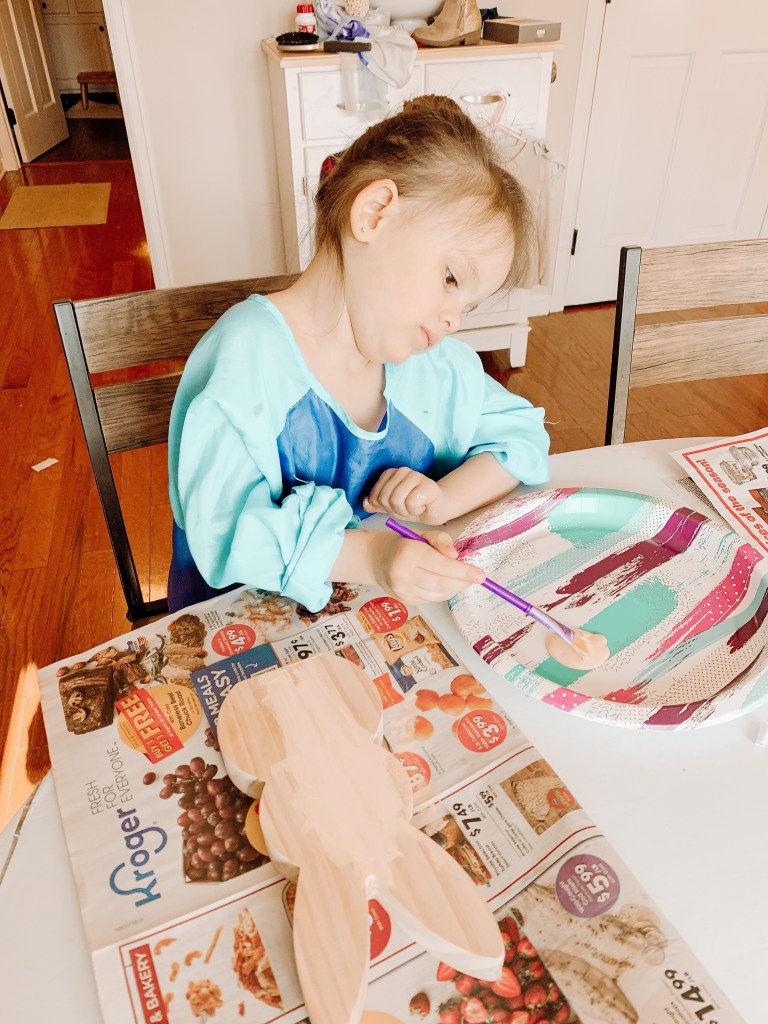
Paint the bunnies and eggs the color of your choice. Allow time to dry completely.
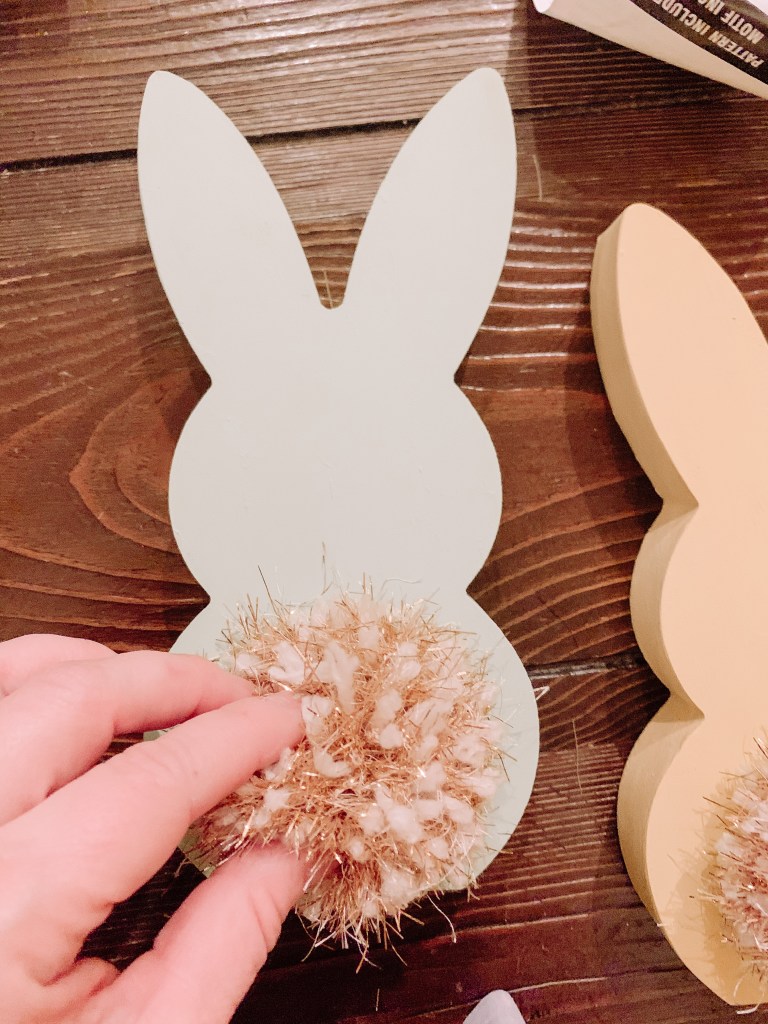
Using your yarn, make a pompom for each bunny. I used a white and gold yarn.
Squeeze a good amount of hot glue onto the center of the bunny’s butt.
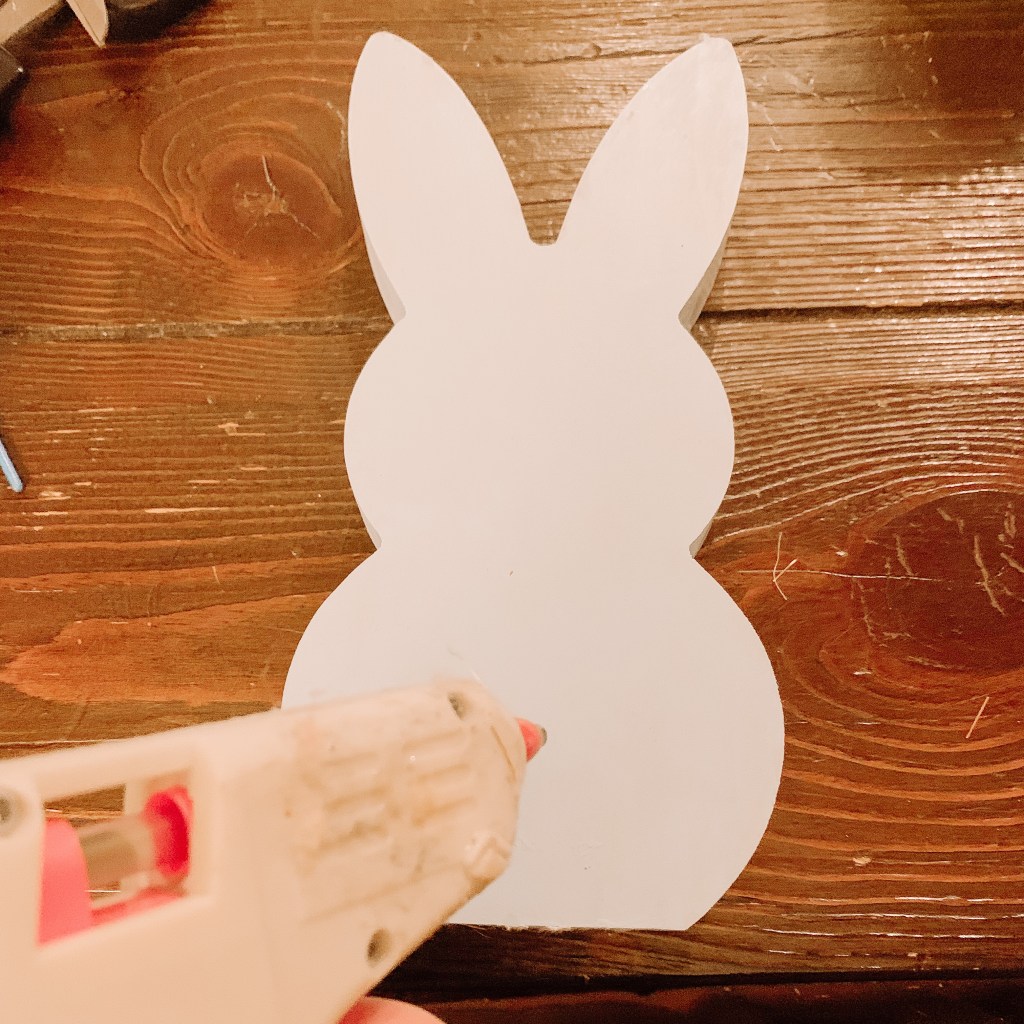
Press a pompom onto the glue and push down for about 10 seconds. Repeat this step for each bunny.
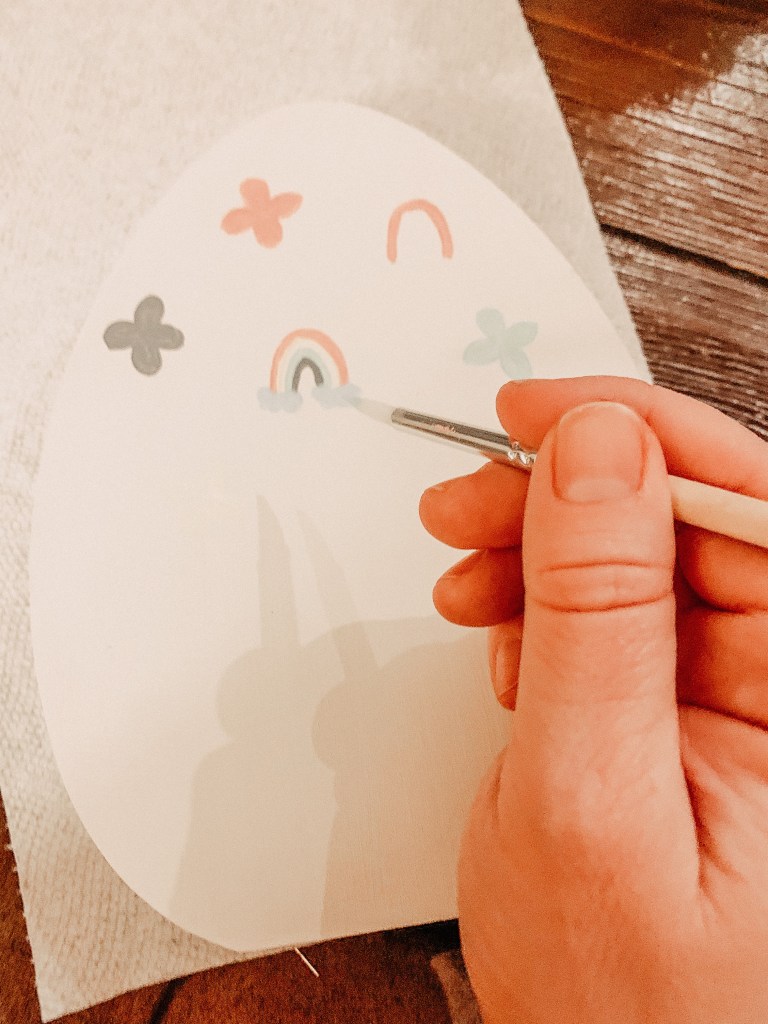
If you want, paint some designs onto the eggs. I painted flowers and rainbows and then added some glitter with regular glue. I recommend putting a design on only one side so you can display either side depending on your mood!
After completely dry, display them!


Leave a comment