
My 2020 obsession was yarn, and now I am beginning to think my 2021 obsession is felt. I never realized just how much you can do with FELT!
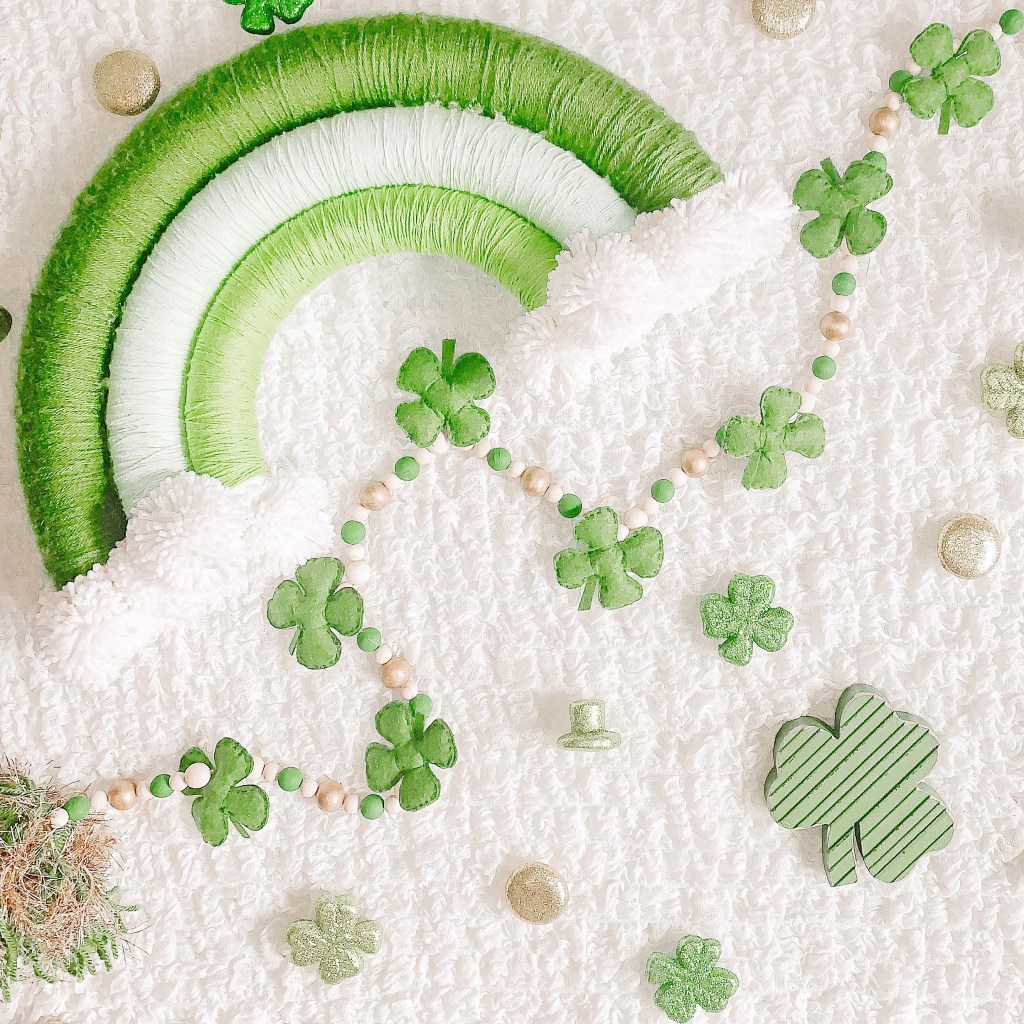
From felt ball garland to pennants, wreaths to wands; there are so many options. With St. Patrick’s Day around the corner it seemed like the perfect opportunity to try my hand at my own felt-inspired garland. So, today I bring you my DIY Felt Shamrock Garland. It is a bit labor intensive, but I promise the final product is worth it and the cost can’t be beat!
SUPPLIES
- Green felt
- Green thread
- Sewing needle
- Wooden beads of multiple sizes
- Twine or string
- Green and gold paint
- Green and gold yarn
- Book or cardboard (for making yarn tassels)
- Scissors
- Shamrock stencil
- Black marker
- Batting
- Paint brush
INSTRUCTIONS
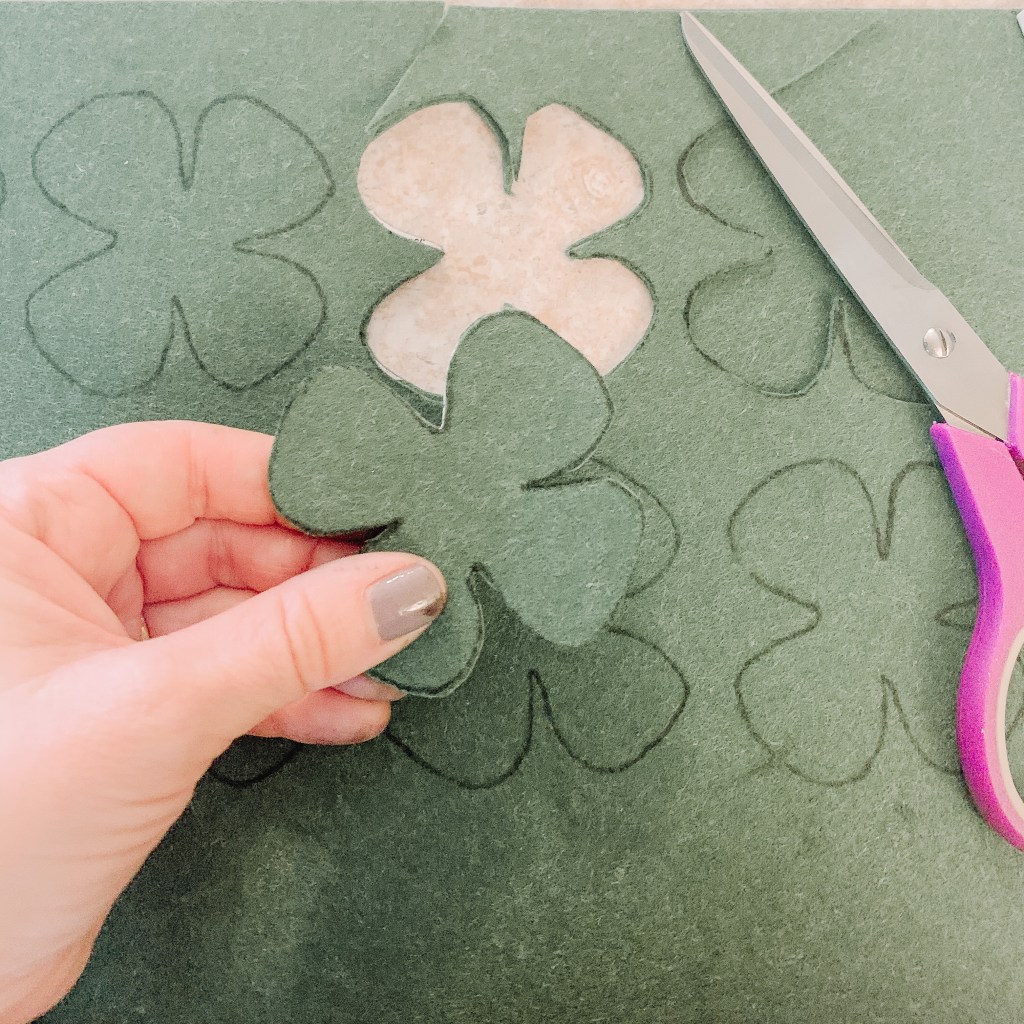
Find a shamrock stencil (I printed one I found online and cut it out, but you could also use a cookie cutter or shamrock home decor) and trace multiple shamrocks onto your green felt using your marker to outline.

Cut out the shamrocks with your scissors. My shamrocks are roughly 4 inches tall and I my garland took 10 shamrocks total (so 20 shamrock shapes were needed).
Place two shamrocks together, lined up one on top of the other, and sew around the edges with your needle and thread. Don’t see it fully together but leave a small opening for stuffing.

Fill your shamrock with batting to make it three dimensional. Make it however thick you like. I used a small lollipop stick to shove the batting into the leaf areas, but you could just as easily use a pencil.

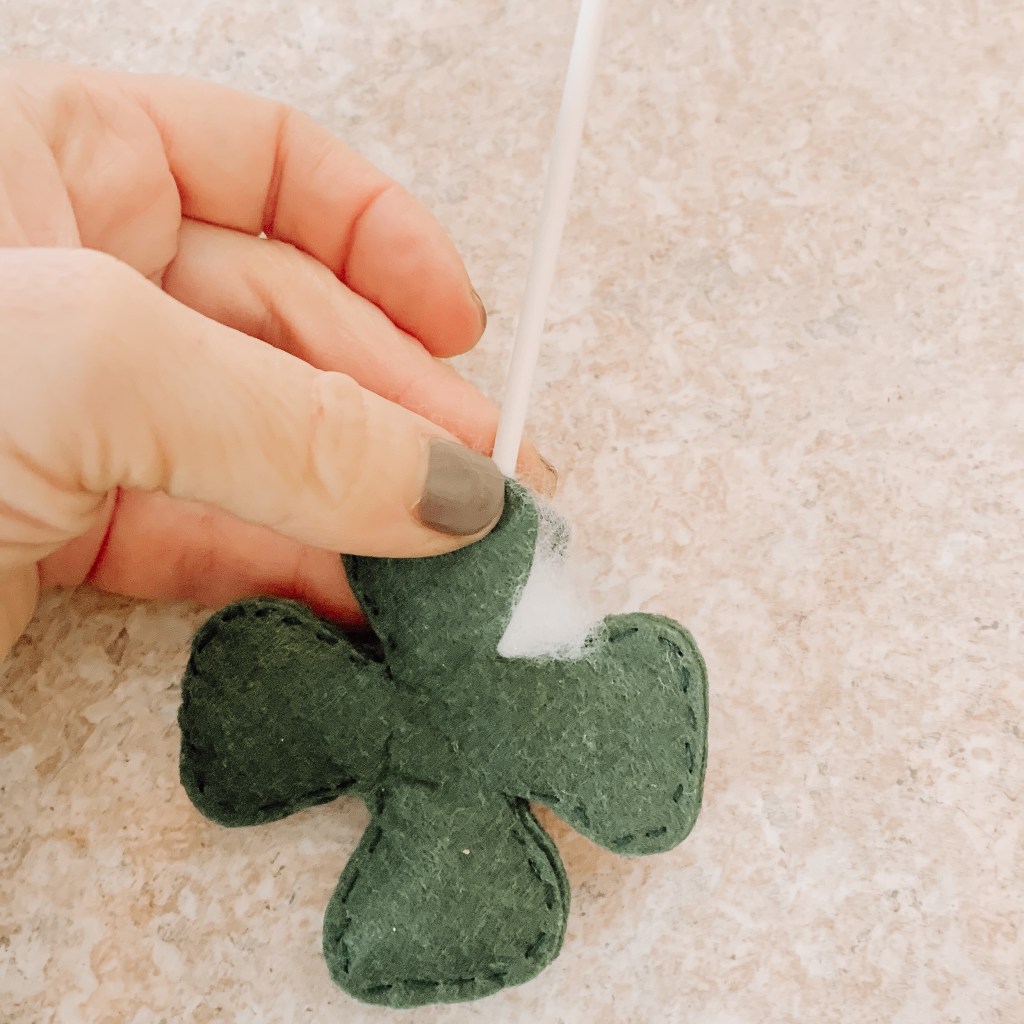
Once finished stuffing, sew the opening closed.

My shamrocks did not have stems so I cut out small felt stems myself and then sewed those on as well. Repeat these steps until you finished all of your shamrocks.

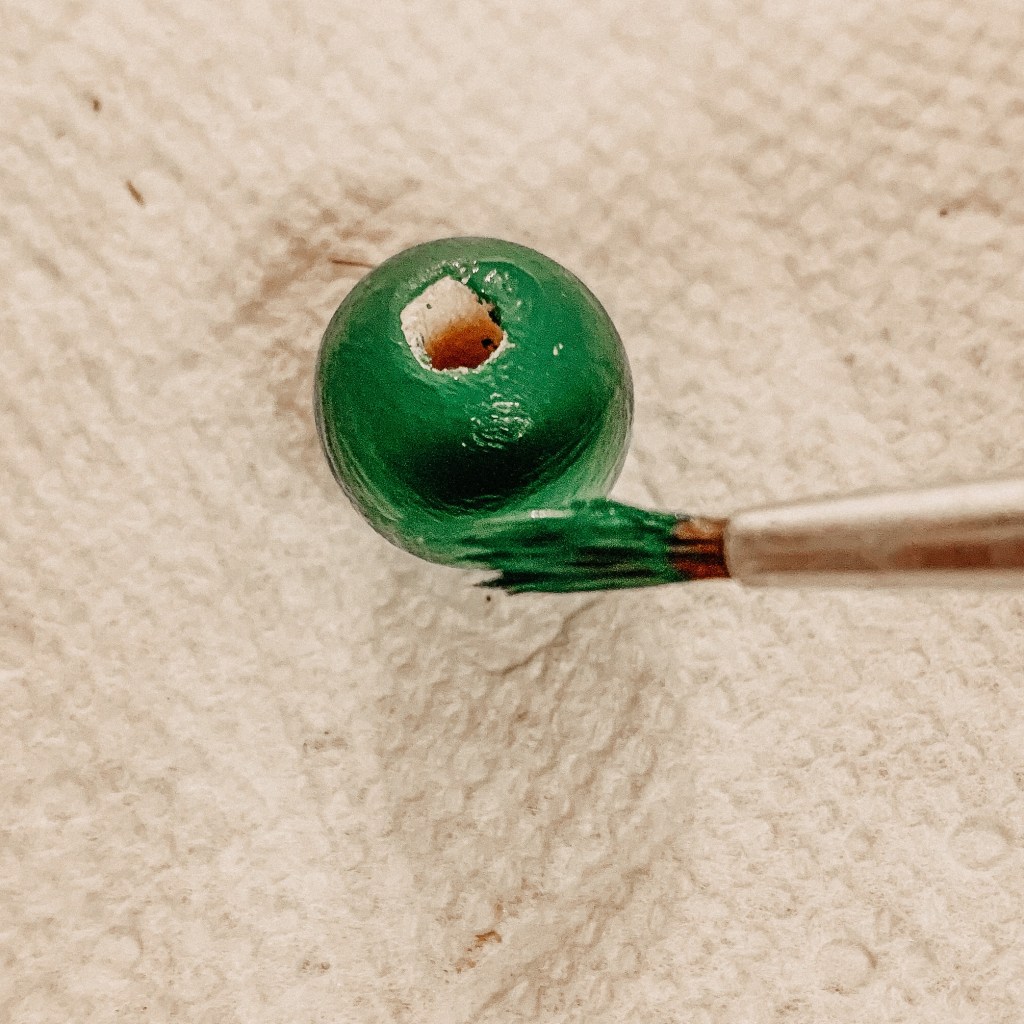
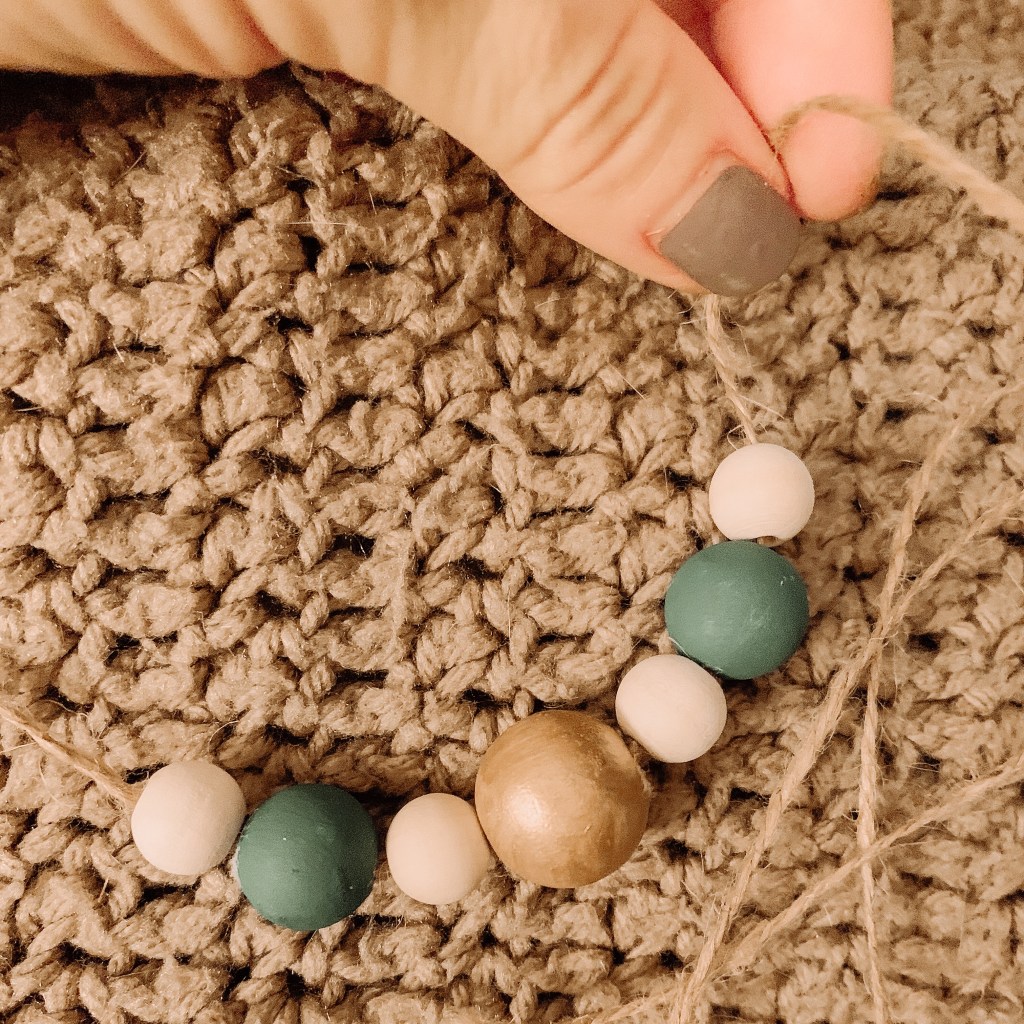
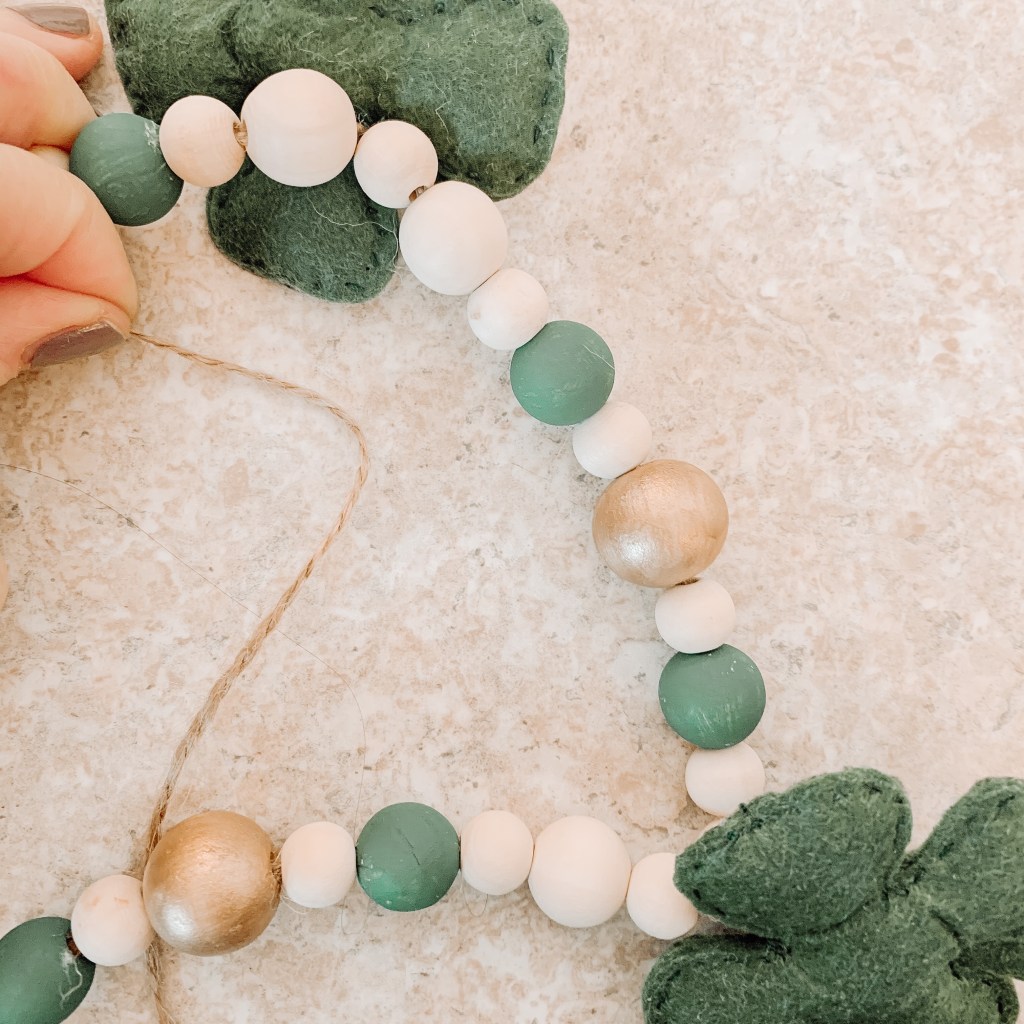
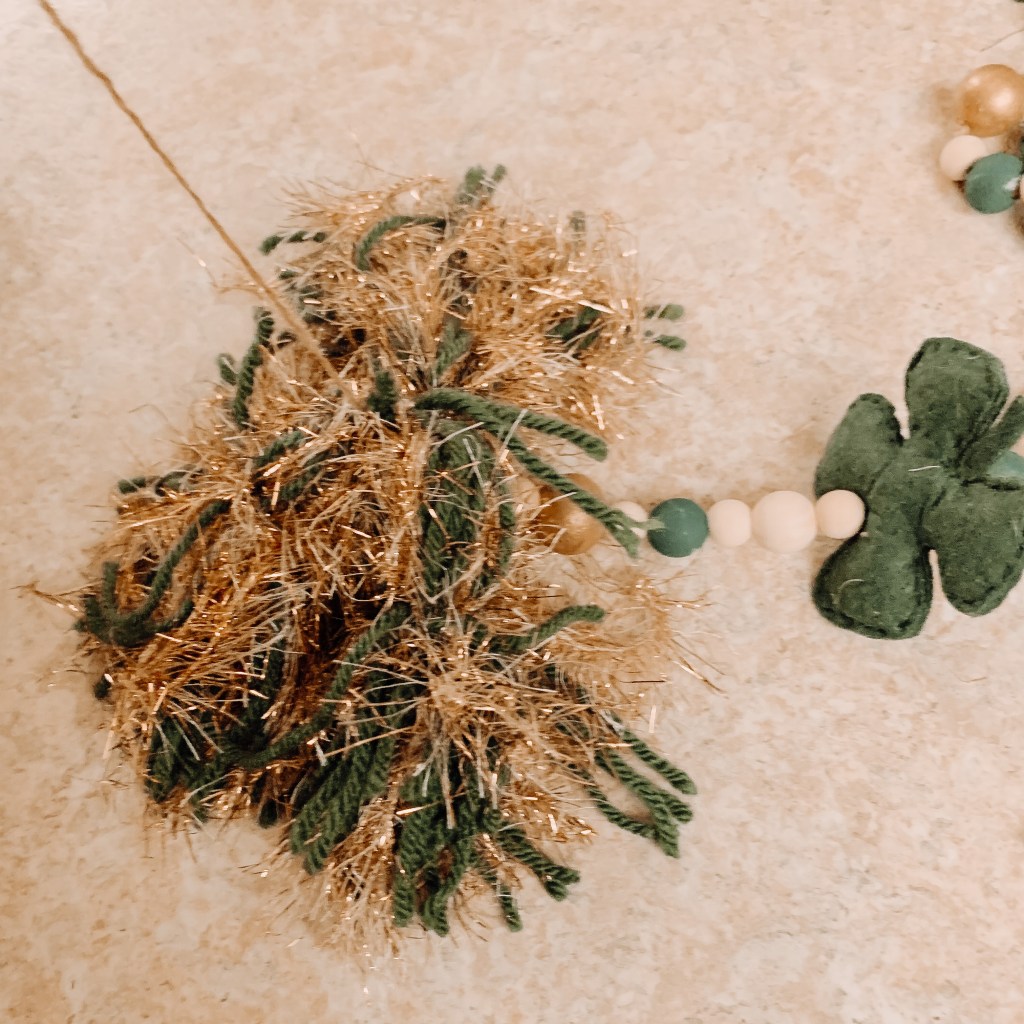
Paint several beads gold and several beads green. I painted my largest beads gold and the medium sized green. It may help to determine the bead + shamrock pattern you would like to use on your garland now.

Once your beads are dry, it’s time to start assembling the garland! Begin stringing beads onto your string/twine in the pattern of your choice.
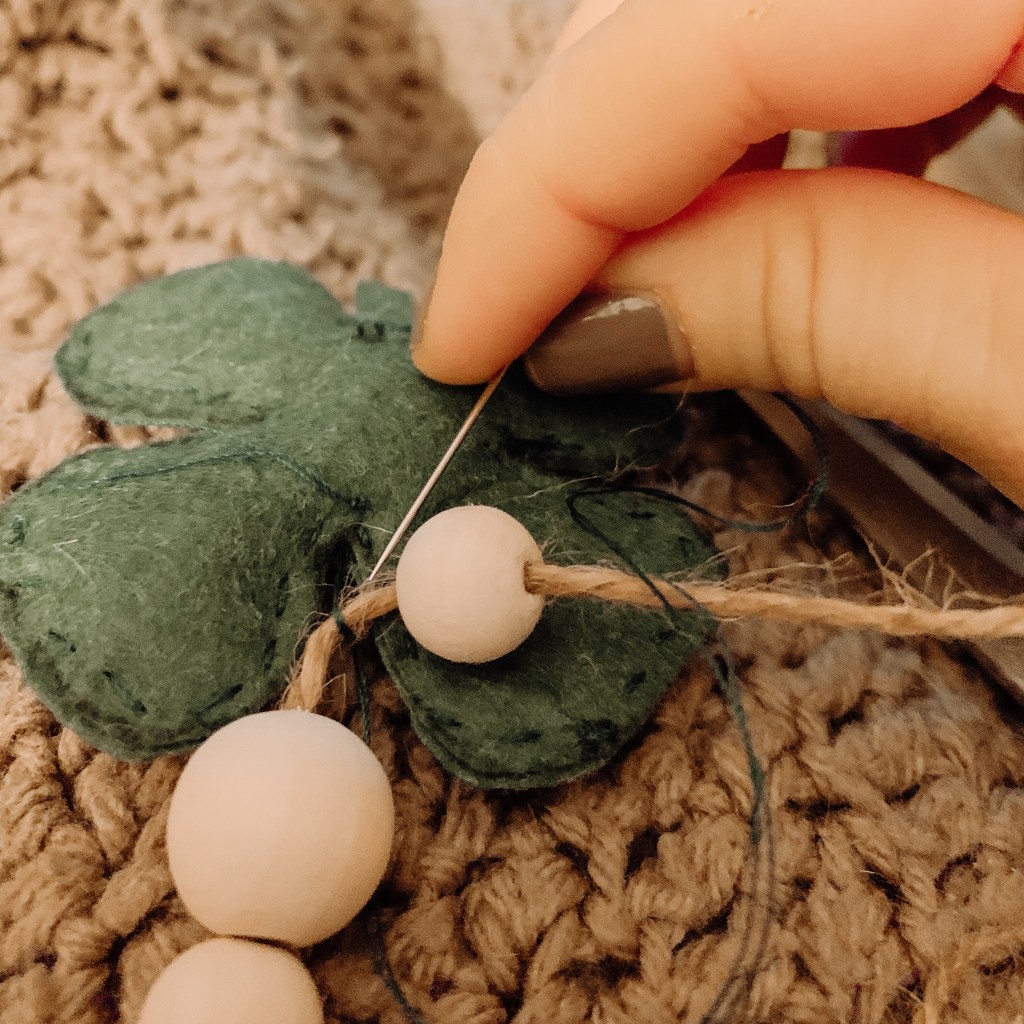
Use your thread and needle again to sew the top of tour shamrock onto your string between the beads at regular intervals.
Once your garland reaches the desired length you can stop.
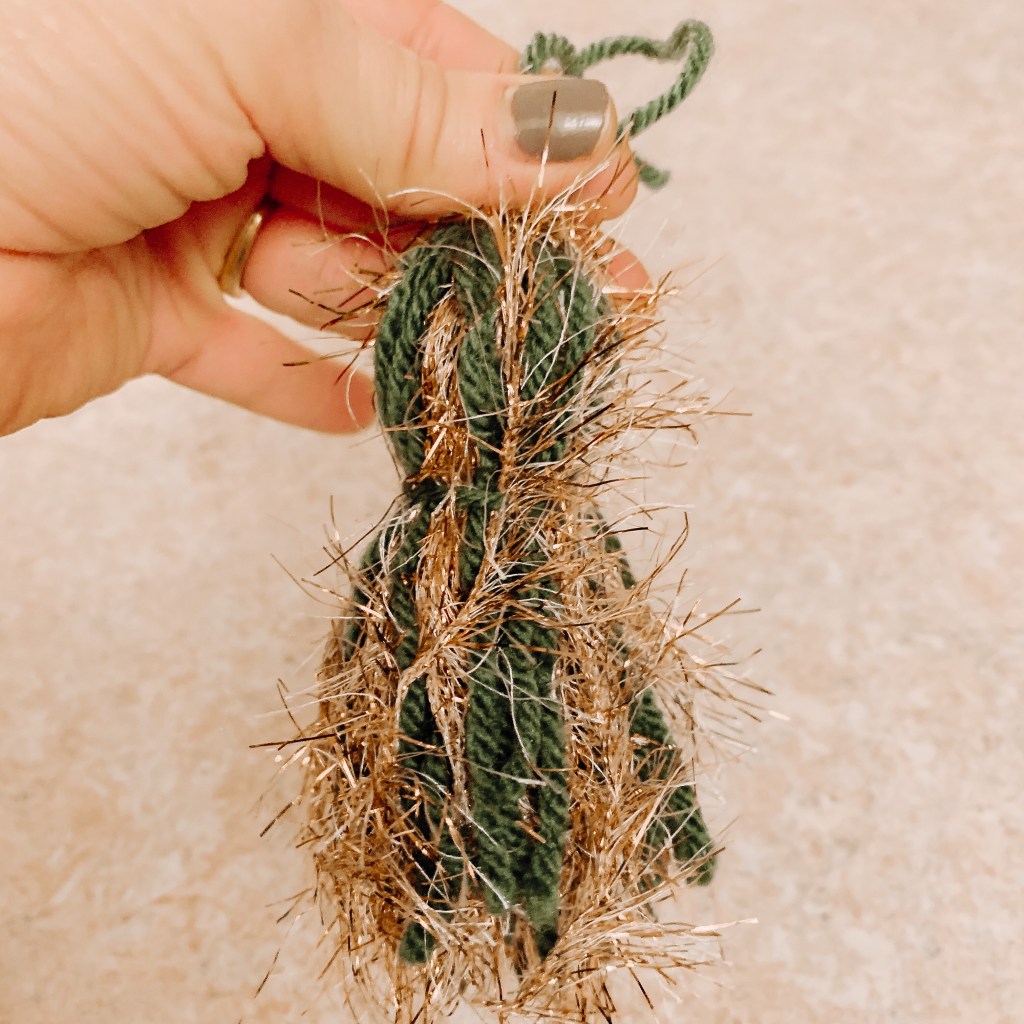
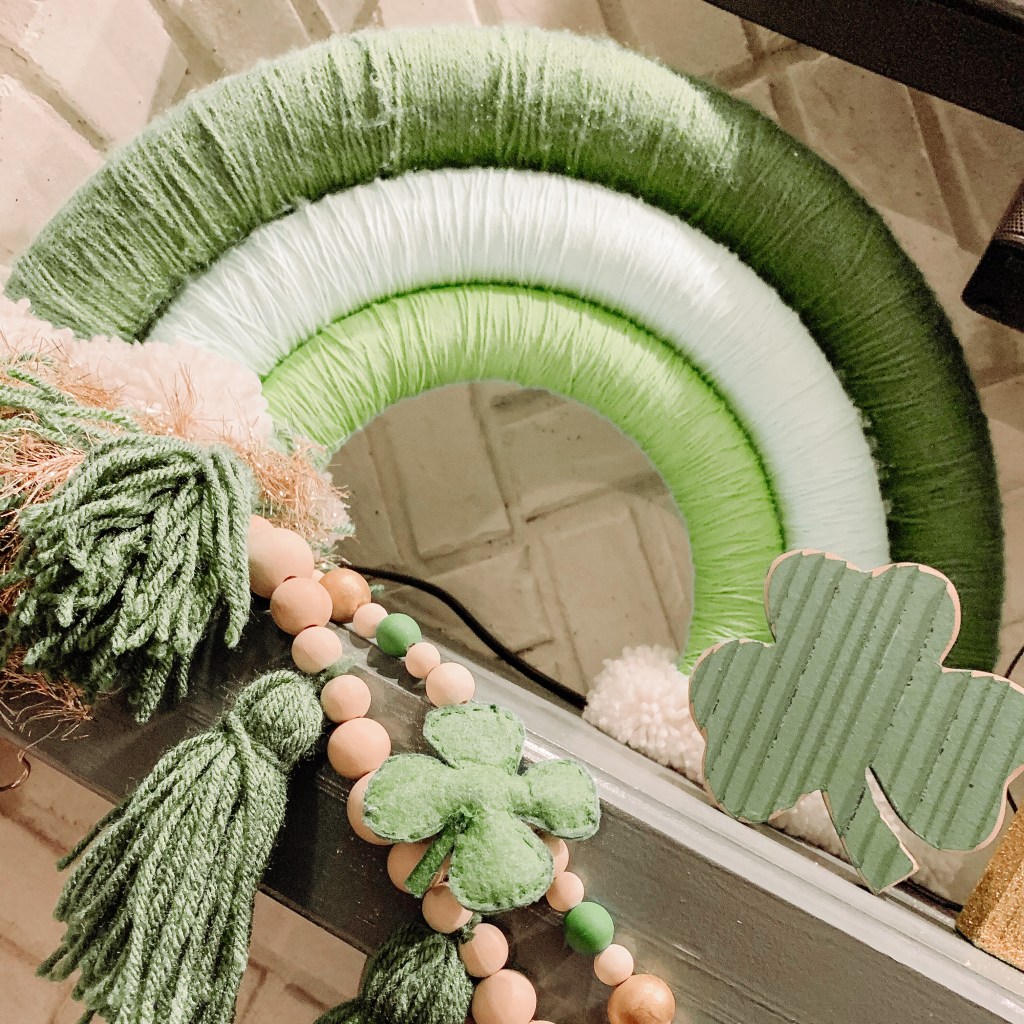
Make six green and gold yarn tassels (tutorial here) and tie 3 to each end of the garland. This helps to keep the beads from falling off AND adds extra sparkle and cuteness.
And that’s all there is to it! Hang your garland and enjoy your Etsy-worthy DIY.


Leave a comment