

Let’s take a trip back to the 70’s with this retro roller skate Valentine box! I stumbled across a similar box on Pinterest and made it my own, and made it easier. This is a great box for parents like me who want the final product to look great and want to have control, but also want to let their kid help and provide input. Rowe painted the boot, chose the paper and paint colors, selected the Cricut shapes and where she wanted me to glue them (first graders and a hot glue gun do not mesh hahaha). Here are the instructions if you want to make one yourself!
Supplies
- Cardboard file holders
- Acrylic paint
- Cardboard
- Glitter cardstock
- Colored cardstock
- Ribbon
- Yarn
- Letter patches
- Cardboard toilet paper rolls
- Tape
- Hole punch
- Glue gun/hot glue
Assembly Instructions
Paint the unassembled file holder box a solid color of your choice. Be sure to give it a couple good coats.
Once dry, assemble the box according to the package instructions.
Cut a piece of glitter card stock to make the “tongue” of the shoe. Measure carefully and leave space at the top for the “ankle”/where a foot would be inserted. This is where kids will drop in their Valentines. Punch four holes on each side of the “tongue” for the laces.

Glue the “tongue” to the skate. Add and string laces using ribbon. Tie in a bow at the top.

Cut 4 large circles (think wheel size) of cardboard and then 4 more in one color card stock. Then cut 4 medium circles of a different color and then 4 more circles, same color as the large circles.

Glue a medium circle into the center of the large circle and then a small circle onto the medium circle to for. A wheel. Repeat this for all 4.

Glue two toilet paper rolls to the bottom of the skate to serve as the wheel axels (I am just guessing that is what they are called, I really have no idea but it sounds good) and then glue the wheels to the edges of each roll.
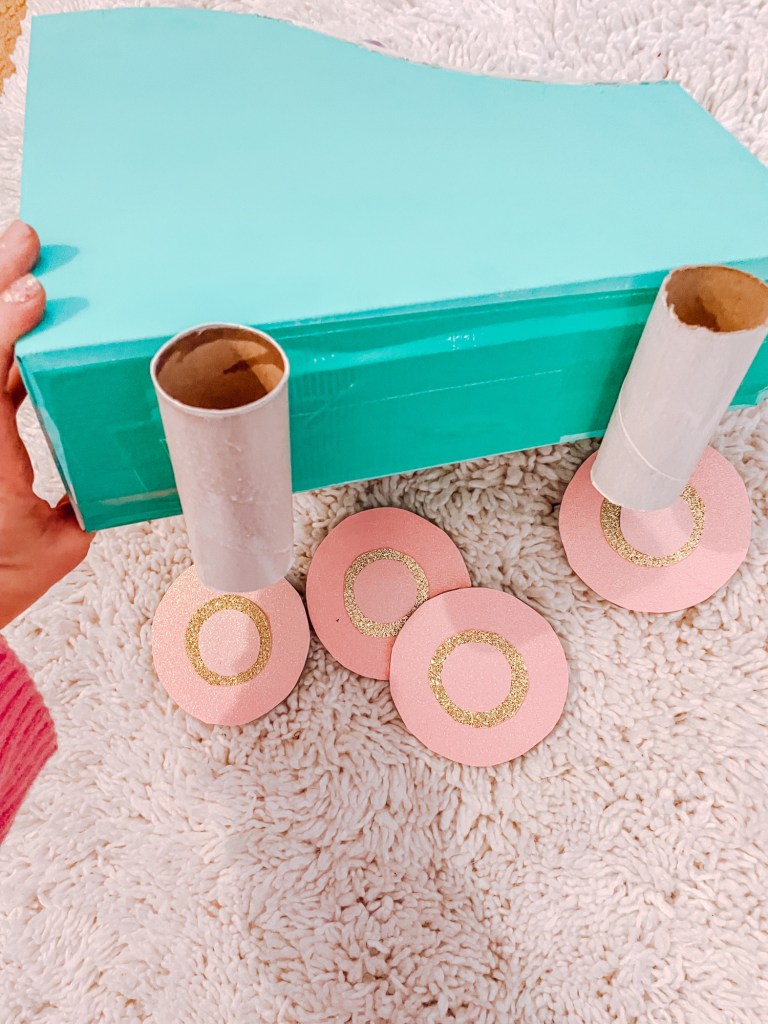
I added peace sign shapes cut on a Cricut to the wheels to make it extra fancy, but you do you!
Cut the last toilet paper roll into thirds and paint one of the thirds or cover in paper. This will be your “stopper”. I traced a small cardstock circle the same diameter as one end and glued it to the end. Then I glued the “stopper” below the toe of the skate.

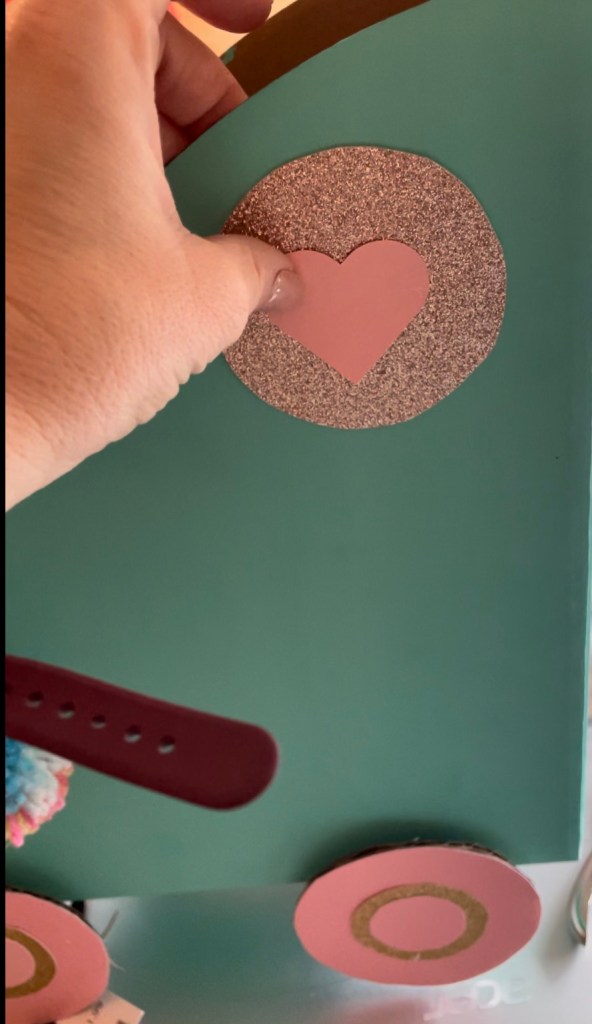
Next, cut out two more circles of glitter card stock (size of your liking) and two hearts of solid colored cardstock. Make the hearts small enough to fit within the circle. Glue the hearts onto these circles and then glue the whole thing onto either side of the skate. I placed mine near the top ankle support areas.
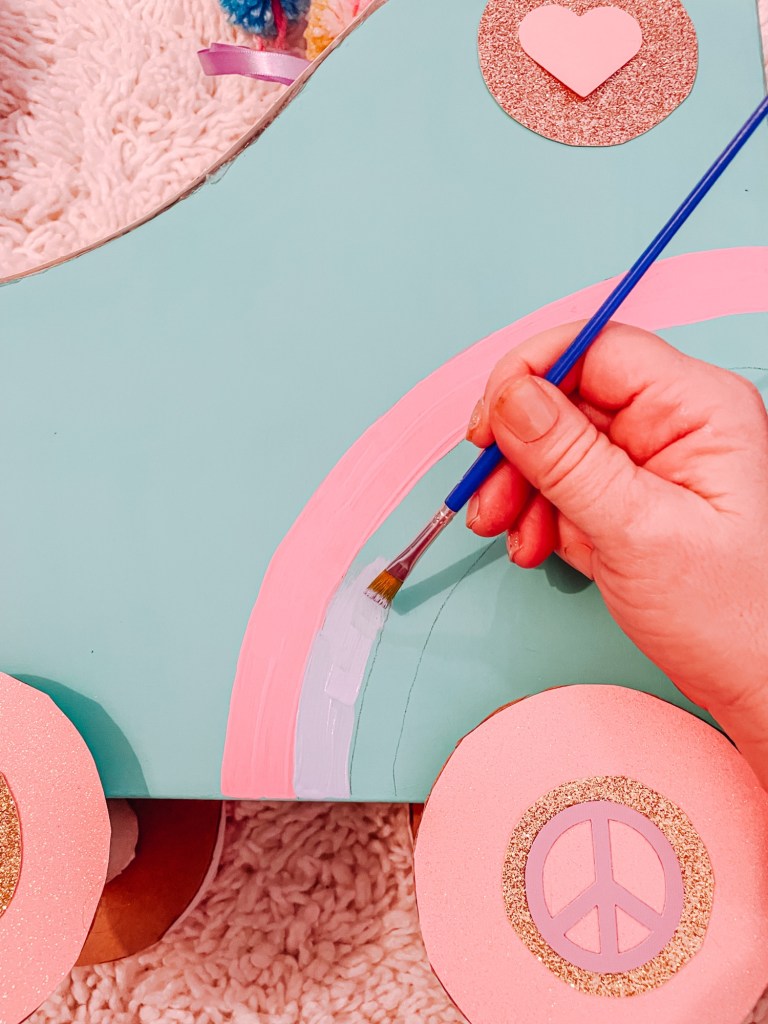
Paint or add designs using more Cricut shapes to your skate – get creative! This is a great spot to yet your young child help. They can paint, or pick the designs/shapes and show you where they want them.
Make a couple yarn pompoms – I used multicolored yarn – and hang them from the “shoe laces”.

Last but not least, add your child’s name, nickname, initials or a word to the skate by gluing letter patches to the back heel.

And now you have a groovy, retro, roller skate Valentine box that is sure to be the hit of the class! This is SO sturdy and made it home on the bus with no injuries, haha. I am not sure I will ever throw this away because I am so proud of how it turned out.


Leave a comment