

After Christmas I decided it was time to change up the twins’ bedroom decor. Nearly everything was from their nursery decor besides a few pillows, new comforters and a couple other odds and ends. So it was time for an upgrade!
I desperately did NOT want to paint, so I worked with their pink walls and white headboard and decided on a boho garden theme. The first item I purchased was their comforter from Target and then tied everything else to that for style and color scheme.
Where there used to be a cute tee-pee shelf that my dad had made hanging above the head of the bed was now an empty space. After scrolling through Insta and checking out some of my favorite boho decor/ DIY accounts, I was immediately inspired by Aurelie Erikson’s (seriously check her out, her account is amazing) yarn rainbow wall hanging she had made for her daughter. I watched her DIY and had to make one myself!
It really is the perfect statement piece and was so affordable to make. Follow the steps below to make one for yourself!
Supplies
- Yarn in a variety of colors (to match your color scheme; be sure to have white or cream for the “clouds”)
- 4 foam pool noodles
- Large yarn pom-pom makers
- Copper piping
- Glue gun/hot glue
- Scissors
- Knife/cutting board
Instructions
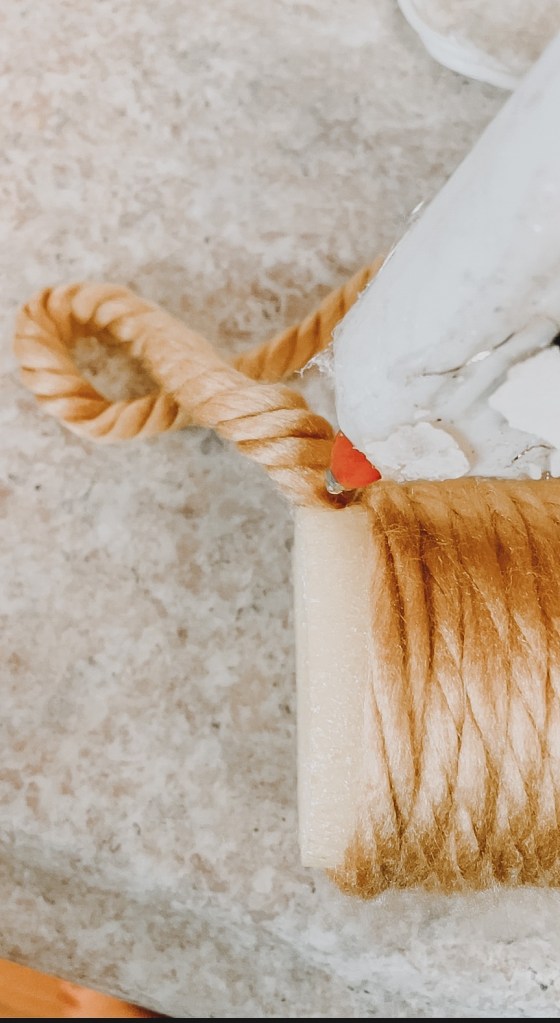
Choose a pool noodle to start with and hot glue the end of a piece of yarn to the very end of the noodle.

Once the glue has dried and the yarn is secure, start wrapping the yarn around the noodle to fully cover it, pulling slightly tight and ensuring the noodle is not showing through.
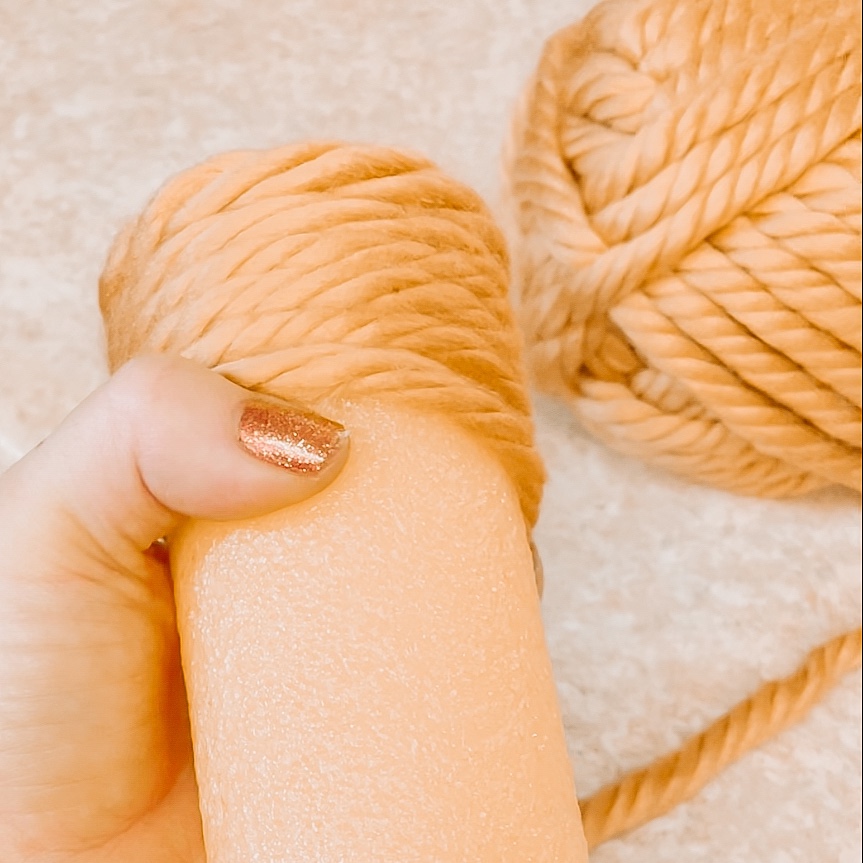
Continue to do this until the noodle is completely covered.
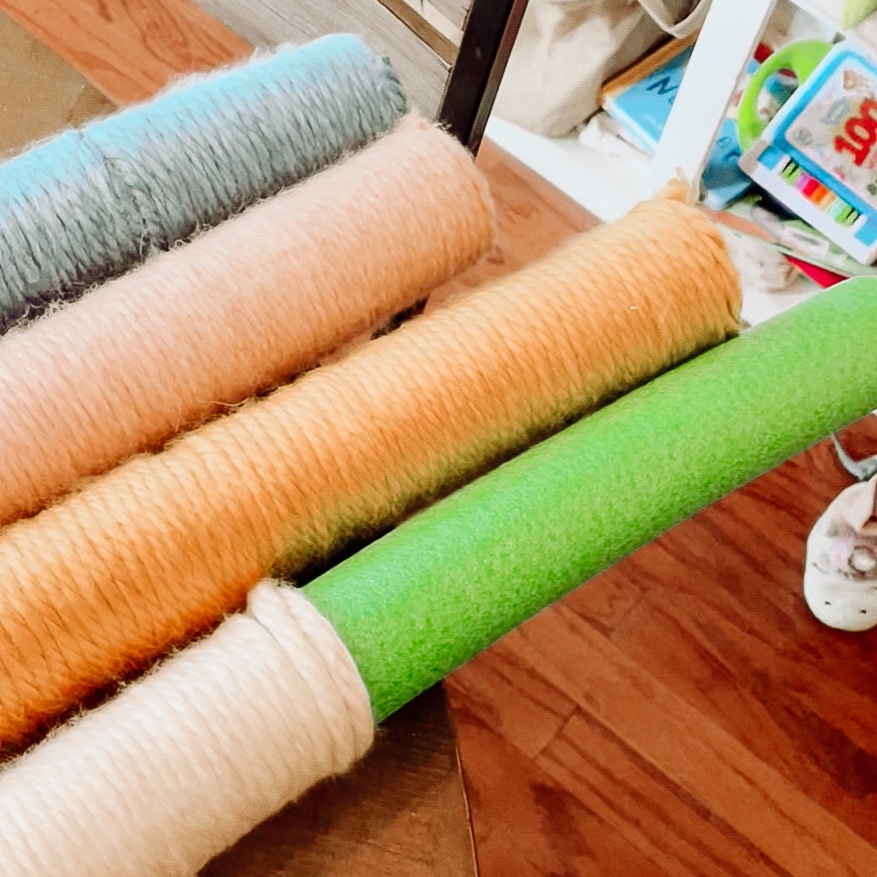
Once covered, cut the end of the yarn and secure it to the other end of the noodle with hot glue. Repeat this process on each noodle, using a different color for each.
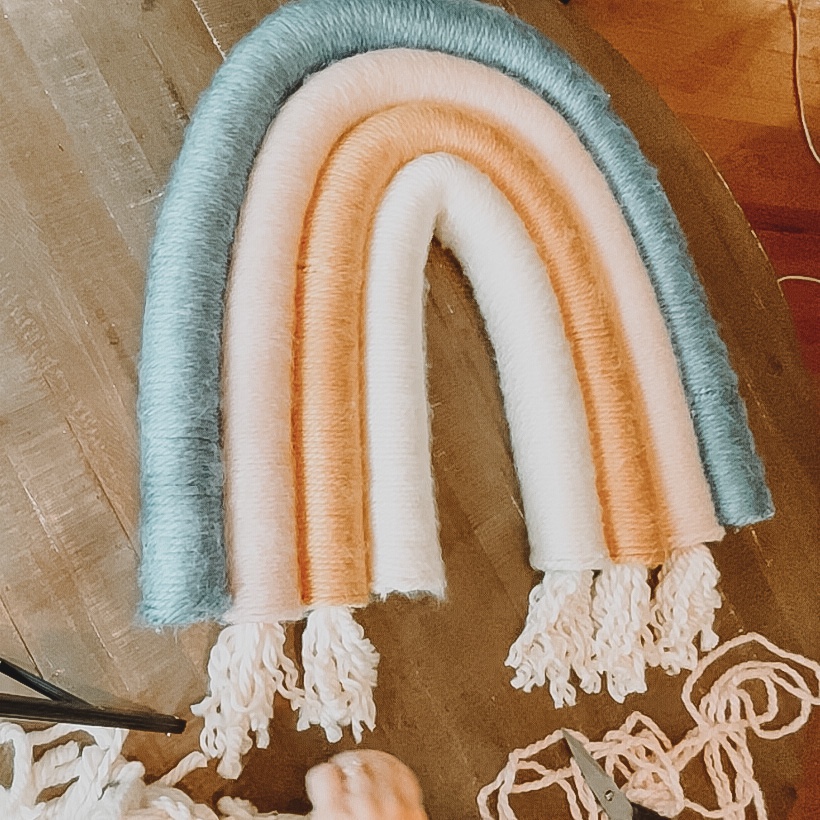
Once each noodle is covered with yarn, lay them in the order you want the colors and bend them into a rainbow shape (arch). You will notice that upon bending, as the noodles get toward the middle some of the ends will be longer than the top noodle.
Use a serrated knife to cut the ends off of those noodles so they are all even when bent into shape.

Insert copper piping into the noodle, going almost from one end to the other. User wire cutters to snip off the end.
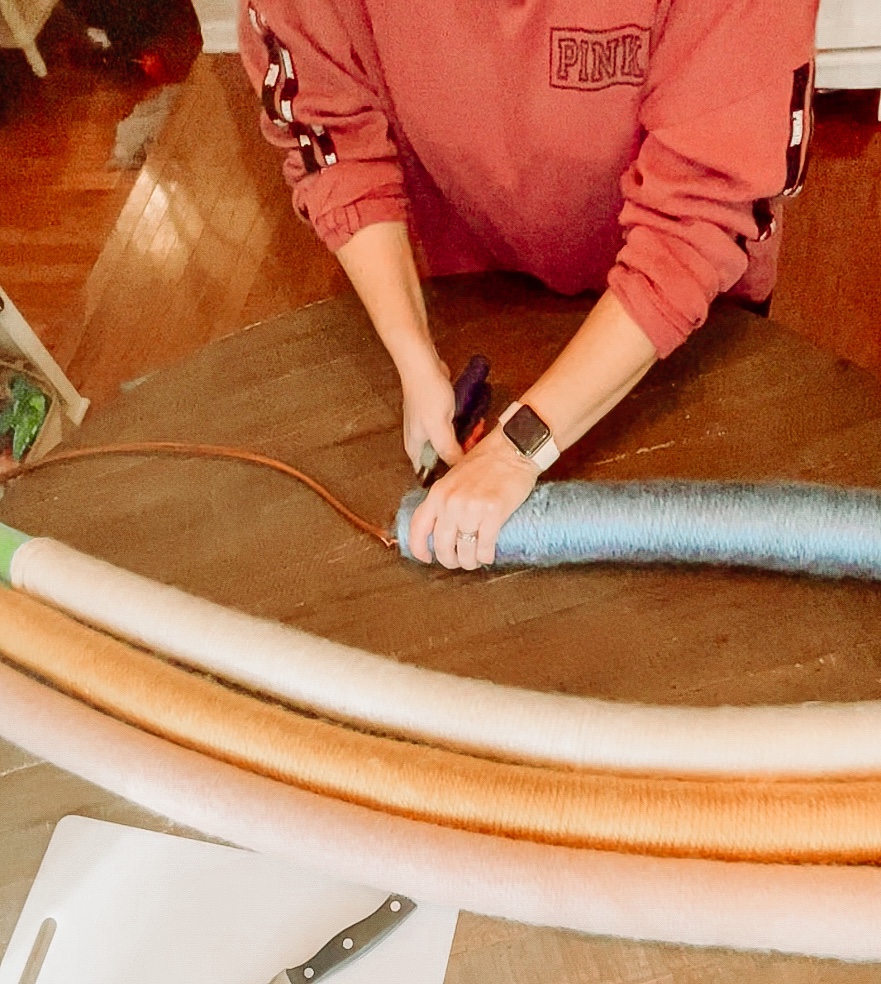
Bend the noodle back into the shape you made earlier, the copper tubing will help keep the noodle in that shape. Repeat this process for each noodle until they are all in the shape you want.

Glue each noodle into place using hot glue and allow to fully dry.

Cut your white, cream yarn into strips, probably around 5″-6″ long until you have a full bunch.

Line the rim at the bottom end of one of the noodles and insert the bunch of yarn strands into the end and allow to dry. Repeat this process for each noodle end, trimming the yarn so they are the same length. These will be your “clouds”.
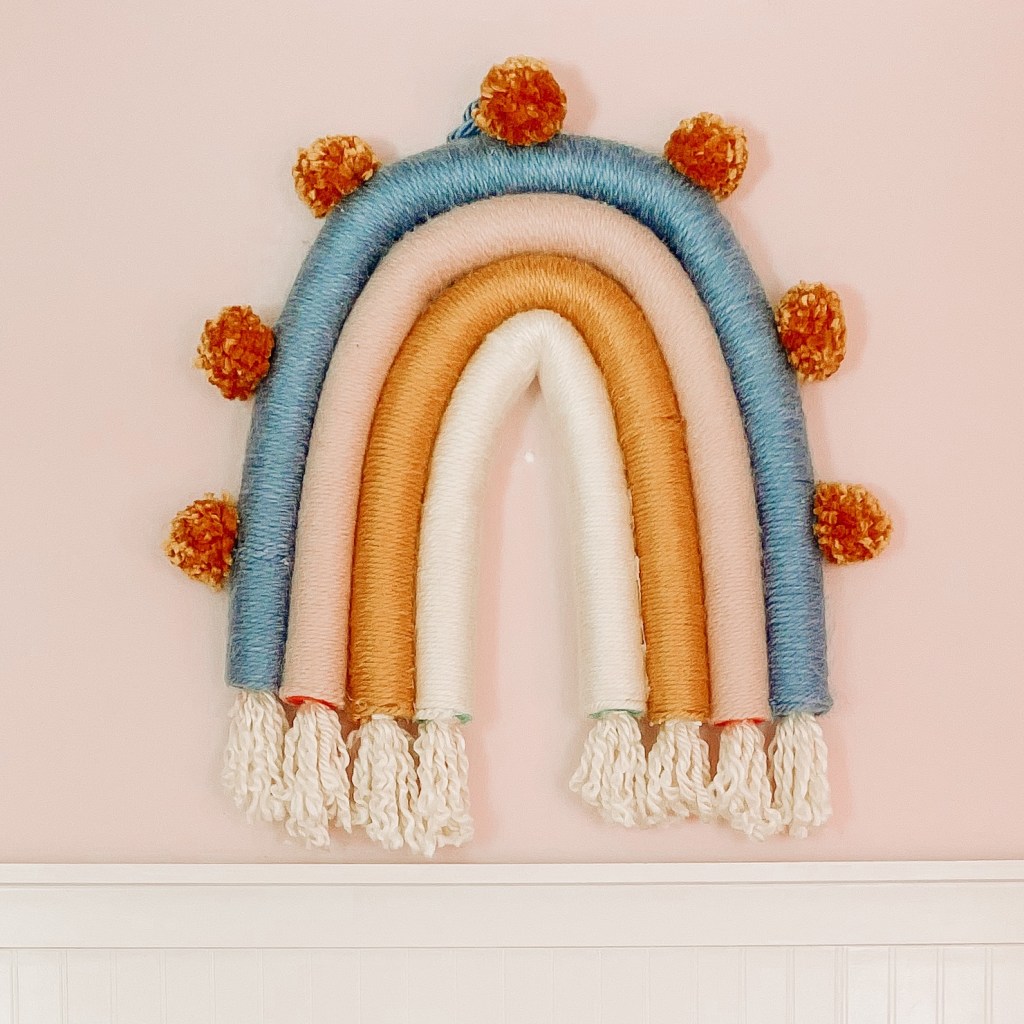
Using your large pom-pom maker to make several yarn pom-poms the color of your choice. I used seven pom-poms on my rainbow; you may use more or less depending how you want your rainbow to look.

Glue the pom-poms, evenly spaced out, around the top noodle using hot glue. Once dry you are ready to hang!
I hung this using a command hook that I just slid under some of the wrapped yarn at the top. There is probably a better way to hang so if you figure one out please let me know!
I have received so many complements on this piece and am so incredibly happy with how it turned out. I hope you love it just as much as I do!


Leave a comment