

If you love elegant Halloween decor with just the right touch of spooky, these DIY bat candlesticks are the perfect project. They’re easy, inexpensive, and can be done in minutes — no paint or permanent mess required!
✨ What You’ll Need:
- White taper or pillar candles
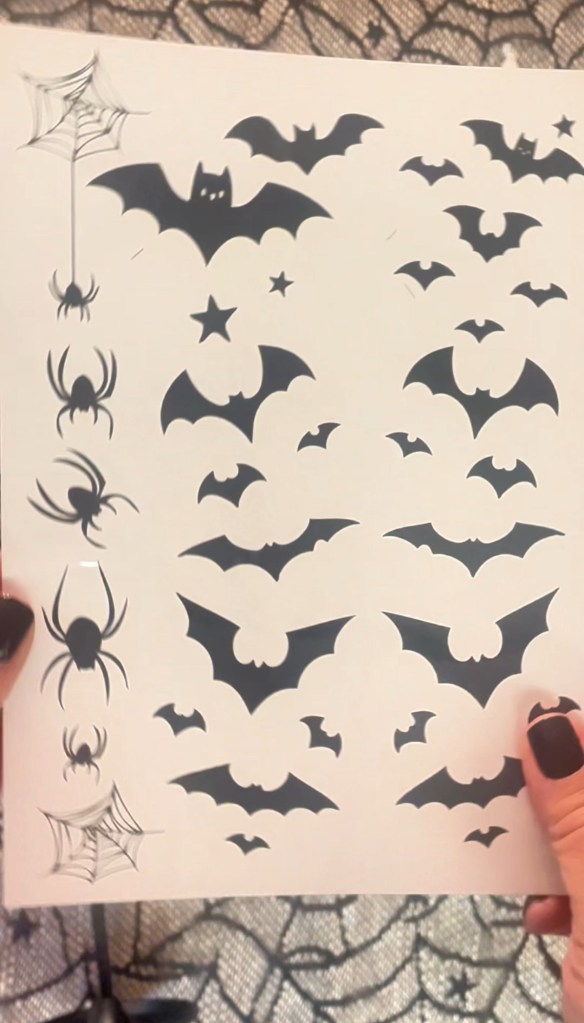
- Bat-shaped temporary tattoos (or any Halloween-themed tattoos you love)
- Small bowl of water
- Paper towel
- Black candle stick holders
🛠️ How to Make Bat Candlesticks:
- Prep Your Tattoos – Cut out the bat tattoos individually to make placement easier.
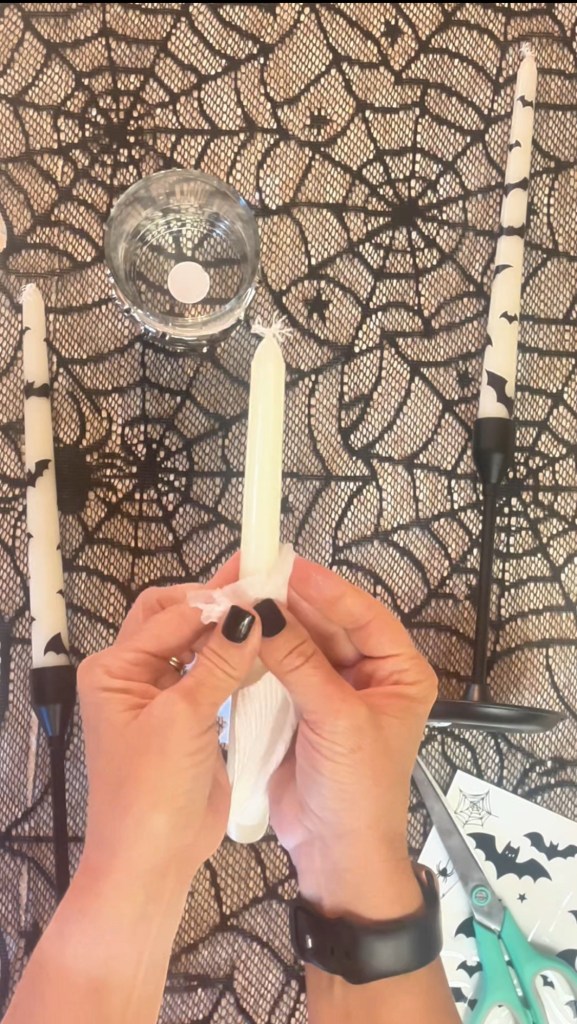
- Place the Tattoo – Position the tattoo (design side down) on the candle where you want it.
- Add Water – Wet a paper towel and gently press it over the back of the tattoo for about 20–30 seconds.
- Peel & Reveal – Slowly peel off the backing — your bat should transfer cleanly onto the candle. Let it dry for a few seconds.
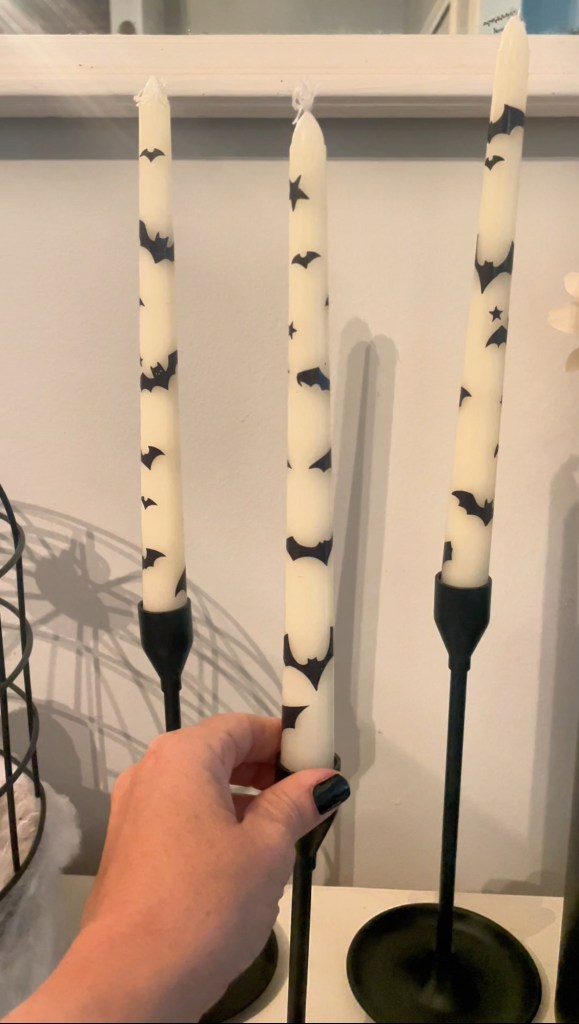
- Style & Display – Place your finished candles in black candle stick holders for a moody, elegant Halloween vibe. Cluster them together for extra impact.
🕯️ Styling Tips:

Mix different candle heights for dimension. Add cobwebs, mini pumpkins, or black florals around your display. Use battery-operated candles if you prefer a flameless option.
👻 Why You’ll Love This DIY:
- No paint, glue, or special tools needed.
- Quick and budget-friendly.
- Removable — so your candles can be reused after the season.
This simple DIY gives your Halloween decor an elevated look without a lot of effort. Perfect for a spooky tablescape, entryway display, or mantel moment.
✅ Pin this project for later and tag me if you recreate it — I’d love to see your bat candle magic! 🦇🖤


Leave a comment